
|
 01-01-2016, 01:01 AM
|
#1 |
|
Not Yet Wild

Join Date: Dec 2015
Location: Park City, Ky
Posts: 34
|
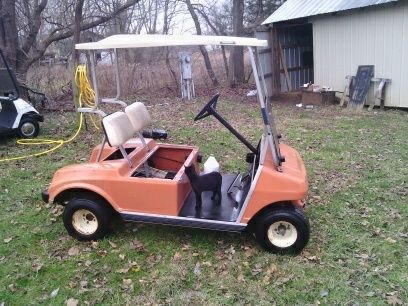
Hi guys and gals, I kinda new around here but have been reading alot through your forums trying to gather knowledge for my upcoming project. What I found was very helpful and inspired me to document mine as well. It may help someone down the line but may help me more, posting it here as I go and explain my thinking on what I'm doing maybe you guys will see me doing something wrong and set me straight or show me a better way of doing something. Anyways here we go.....I bought this old cart from a guy at work...it had a rod seized to the crank. I brought it home and cleaned it up and started taking it apart and it was in pretty good shape under all the dirt and grease. I have no intention of trying to rebuild the original motor knowing their reputation so I started looking here for ideas on a new motor. As my budget is tight on this project I decided to go with a duomax 16hp i picked up for 299$. When it came in it looked as if it might be damaged, the box looked ruff. It did have a busted air cleaner housing but I plan to hook it to the clubcar air cleaner so no big deal.
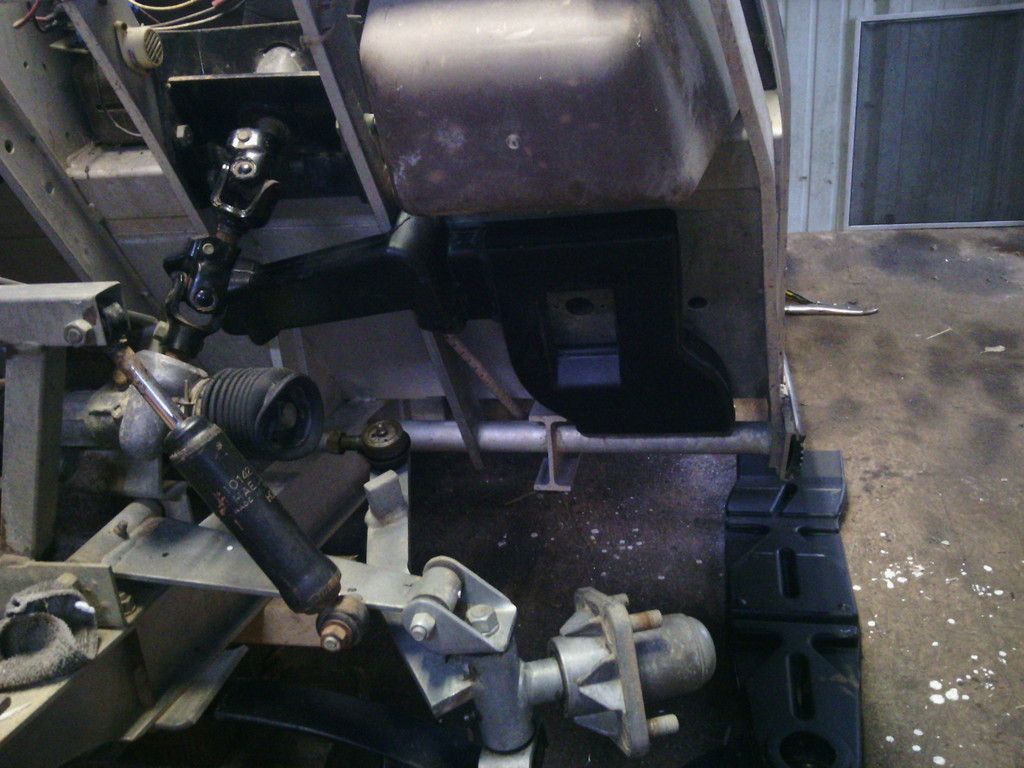
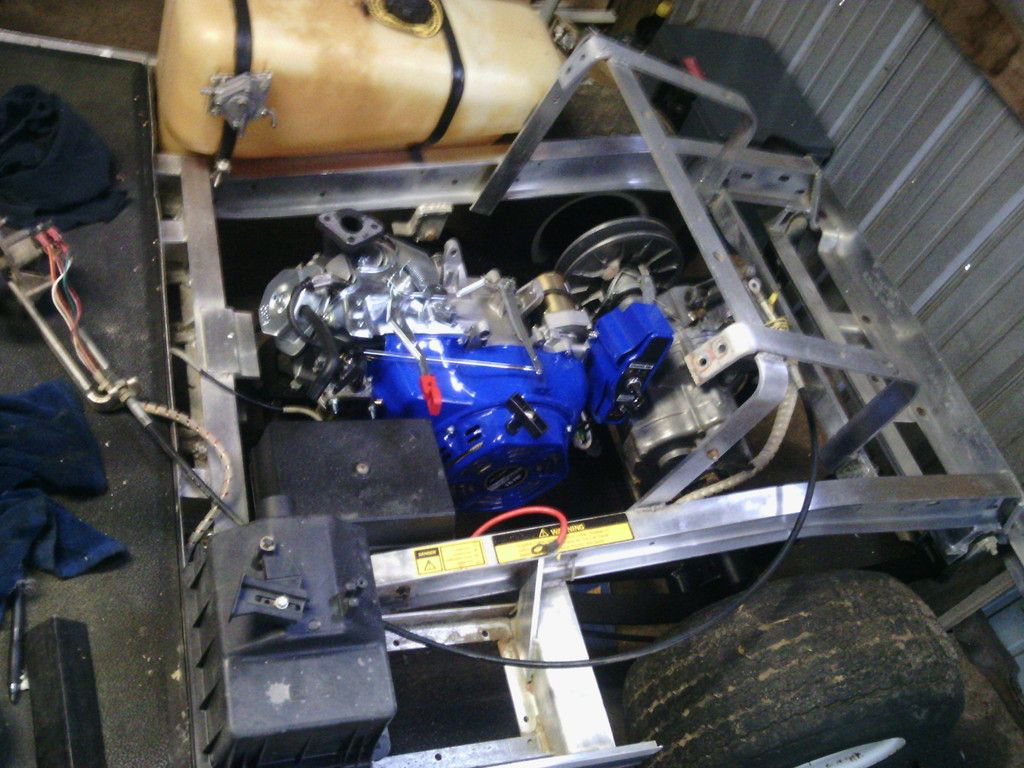
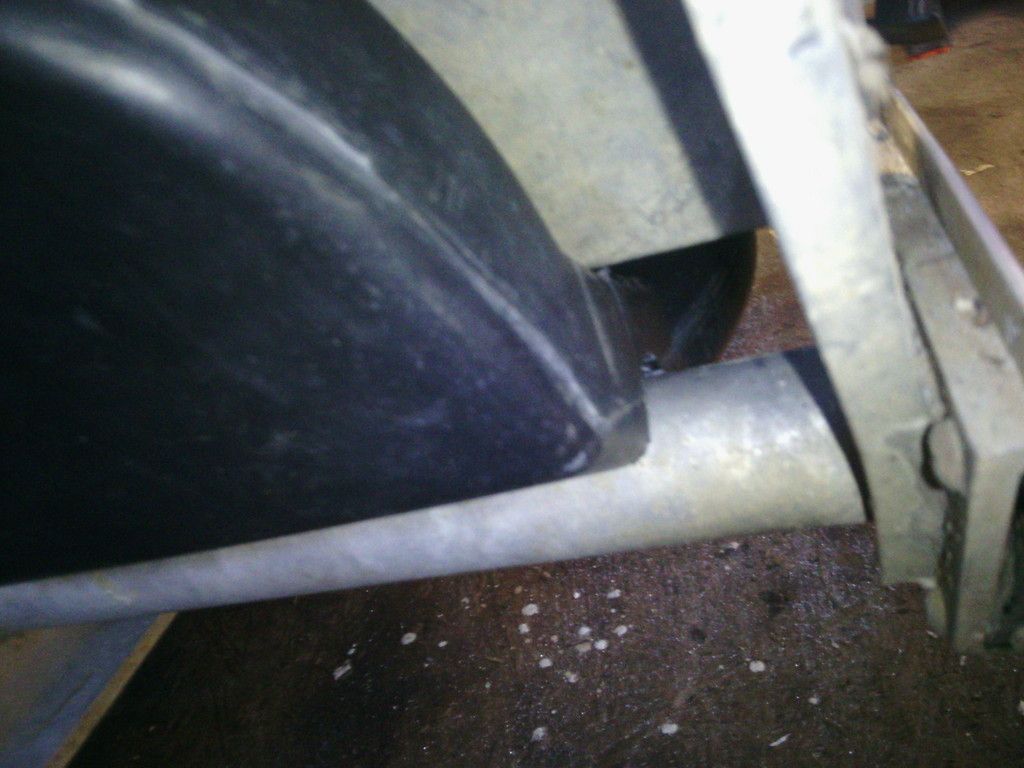
Goal - Not looking for a beast, just want to make the cart function as it should playing golf with maybe a little more power. I live in a community that allows us to purchase a tag for our carts and drive them on the secondary roads, and since the course i work at is only a mile away i drive my cart to work alot in the summers. After getting the cart cleaned I painted the springs, shocks and motor cradle with a fresh coat of black paint. While cleaning and getting my parts together I noticed how bulky the 90 model air cleaner setup was. I got a air cleaner off of a 2003 clubcar. It is much smaller and tucks in beside the battery with a nice newer style element. A problem i ran into was the 03 setup has a air duct the runs under the body and up from to the center to get its air and that duct is requiring some modification to make it work. The frame clearance behind the front wheel where that round bar runs through the frame is tighter so i am cutting the duct around that round bar at that point and going to seal it with some kind of silicon. My cut turned out good and is going to be a snug fit and good seal i believe. Is a pic showing the front piece mounted. I also had to cut a small notch it the brace at the front of the battery box so the duct could fit in under the air cleaner box. I will also have to add a brace under that air cleaner box for it to mount to. I was at this point when my motor came in and i jumped to it. Engine fever...yeaaaa baby. Ok I took all the stuff off I didnt need, air cleaner, gas tank ect... then placed it in for sizing, wow she is a tight fit. Oh forgot to mention before removing that stuff from the motor I filled it with oil and a little gas and cranked it up. Started on first pull and purred like a kitten. so far so good. Motor set to low just like i read other people saying about their builds. I fabricated 2 motor mounts that raised it 1 1/4". They are just 1 1/4" square tubing 8 3/4" long. I havnt drilled any hole where they will sit yet as I need to get my crank cut and clutch installed to make sure i get good alignment when it all comes together. As far as clutch I plan to use the stock clubcar clutch, I also plan to mount the clubcar starter and let it do all the work. This model clubcar has the large muffler that hangs under the rear so I plan to fabricate an exhaust pipe to use it. Also plan to hook up the clubcar fuel pump and tank which leads me to my first question...... I see where almost everyone drills and puts in a fitting in the valve cover to hook up the fuel pump. There is a breather hose coming from the valve cover already. Im not sure if this will work but...why cant I run the hose to an intake that I will buy or fabricate on the outside of the carburator for hooking up the air cleaner hose and has a smaller fitting for ....the hose from the valve cover, then I will cut that line and put in a tee that will let me hook my fuel pump vacuum line to. Will this work? or should i plan on drilling and tapping into the valve cover? hope thats not confusing. Thats as far as I am at this point. I started this project before I thought about posting about it so I didnt take many pictures to this point but will. thanks for all the help I'm sure you guys will give me as this thing goes. Wish me luck.  well it seems i cant post the pictures yet because I havnt been a registered member for 7 days, only 3. As soon as it lets me I will post the pics I have so far. |

|

|
 Today Today
|
|
|
__________________
This advertising will not be shown in this way to registered members. Register your free account today and become a member on Buggies Gone Wild Golf Cart Forum |
|
|
01-02-2016, 01:10 PM
|
#2 |
|
Not Yet Wild
Join Date: Dec 2015
Location: Park City, Ky
Posts: 34
|
   |
|
|
|
|
01-03-2016, 12:34 PM
|
#3 |
|
Gone Wild

 Join Date: Apr 2014
Location: Ohio
Posts: 960
|
Welcome to BGW.. That's a clean looking cart there, like the color too, don't know much about the clone swap but it looks like it will be a nice build when done, let us know how its going, we like pictures..
|
|
|
|
|
01-04-2016, 12:19 AM
|
#4 |
|
Not Yet Wild
Join Date: Dec 2015
Location: Park City, Ky
Posts: 34
|
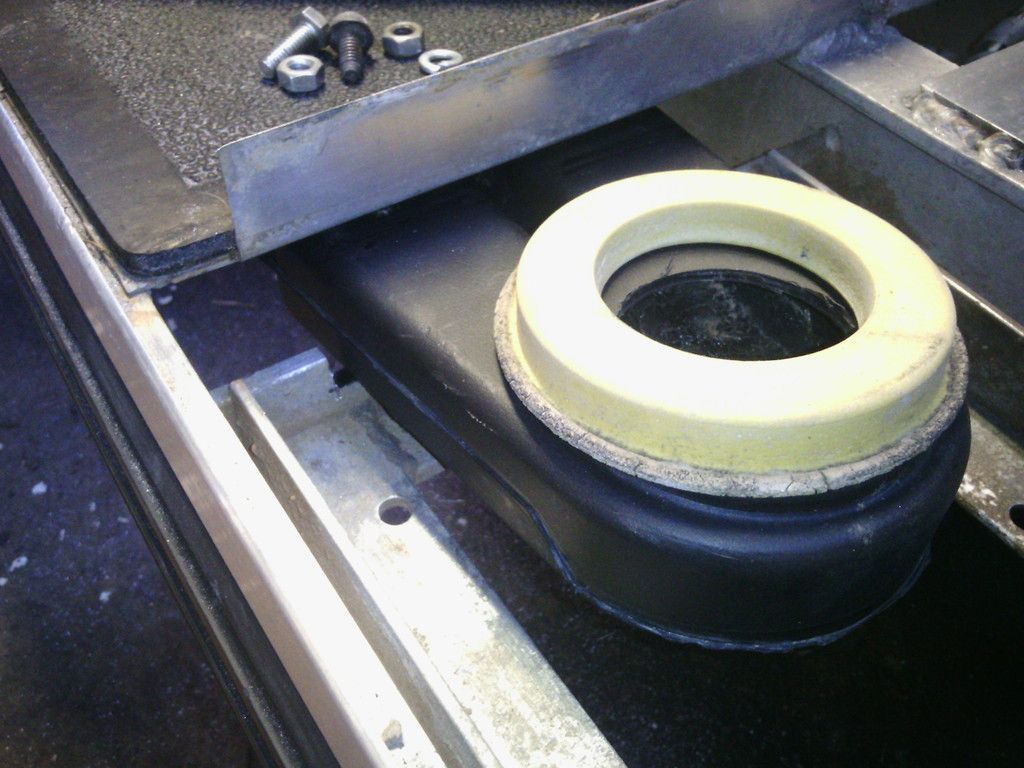
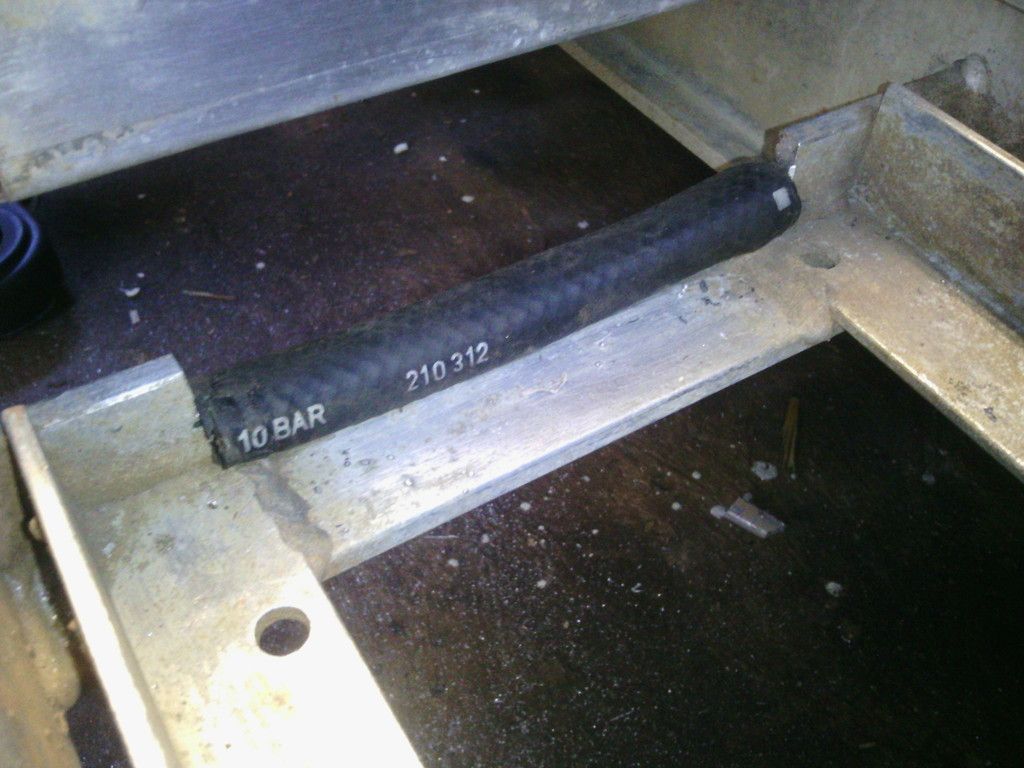
Thanks ironmonkey. I been working on it last couple of days. I got the intake duct fitted and sealed to the frame. i sealed it with black silicon, did the front piece from inside so the sealer wouldn't show. Where it came out in front of the battery i had to cut the notch in the frame for it a little larger than the duct due to some moldings on it, to take up the slack I cut a piece if fuel line and split it to go on it. Then I had to make a few brackets to mount the air cleaner box over it, i will have pics of those next time.
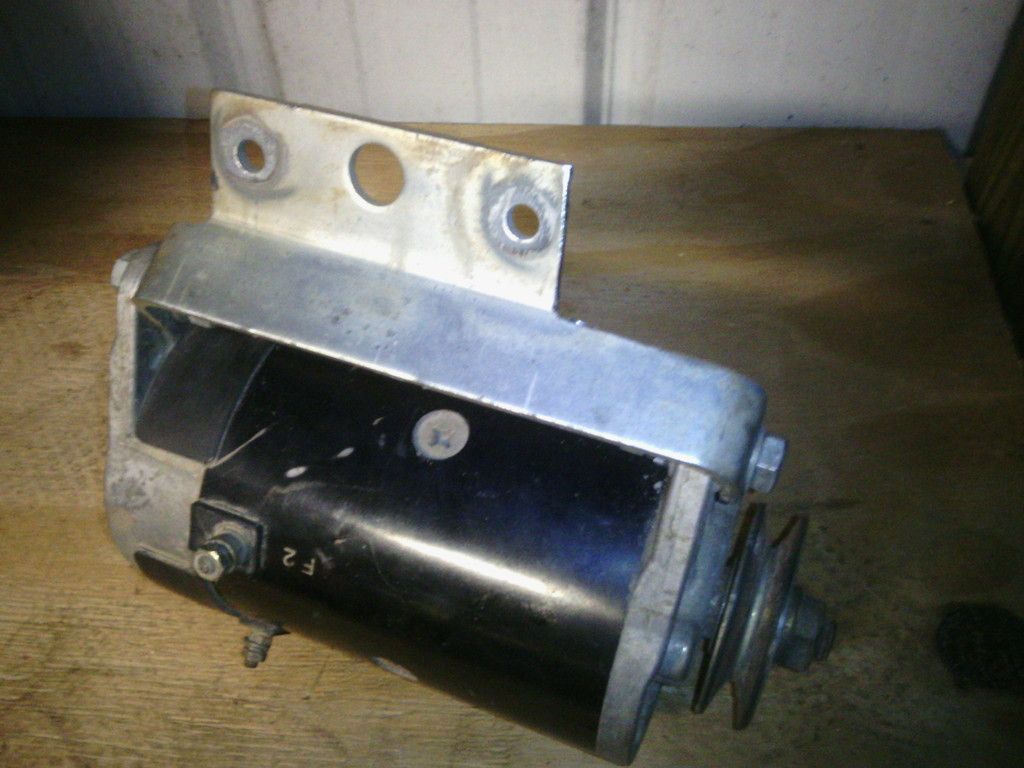
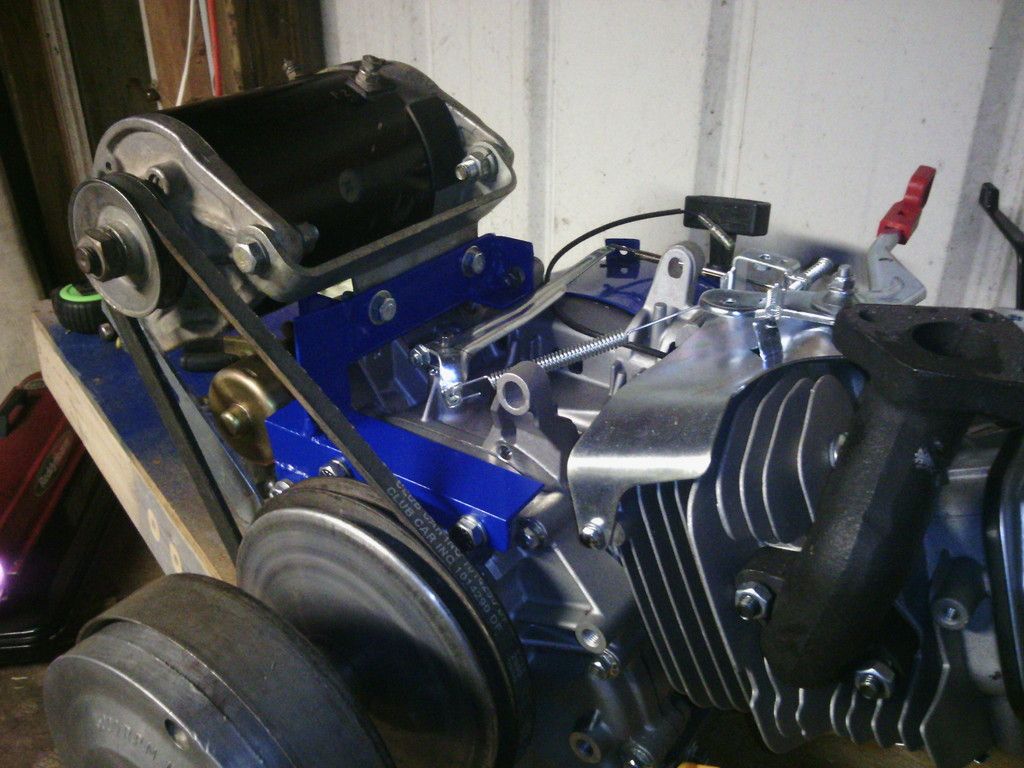
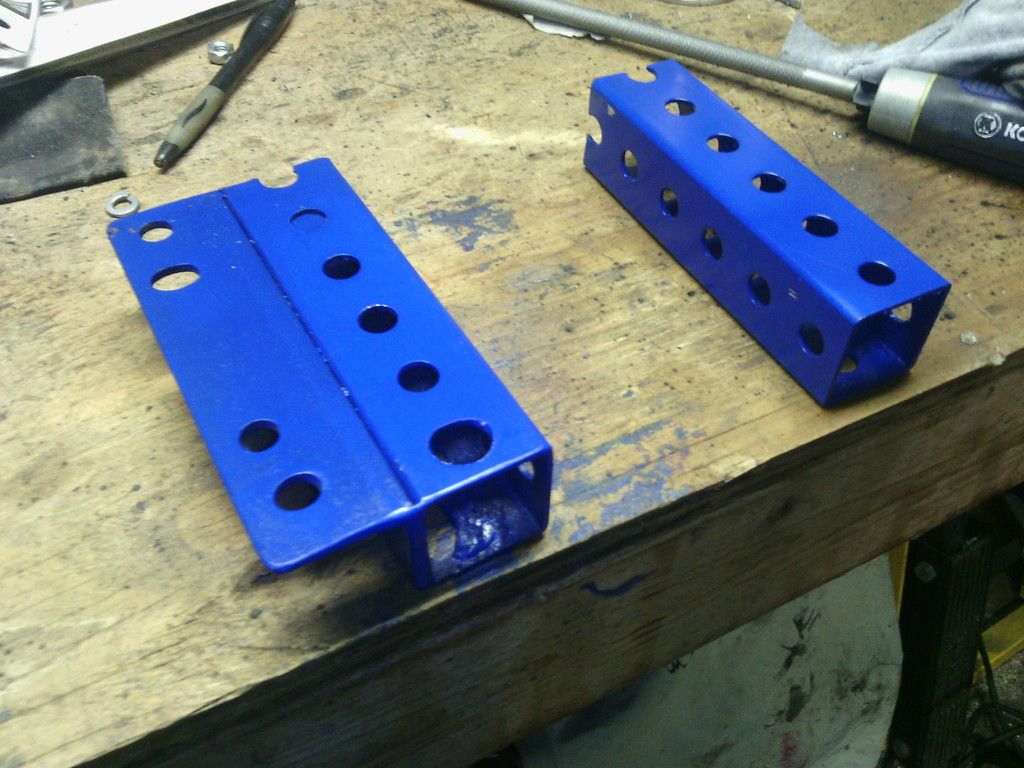
    Moved over to the engine at this point and got the crank cut. Used a cutting blade on my 1/4" grinder and went through easily. Then I started tapping, that took a long time. Going slow and taking tap out and cleaning it often. Would have been a nightmare to snap off a tap in the crank. Got it tapped and looked like its gonna work fine. Now since I have my starter pulley to align with I looked at how I was going to mount my cc starter/generator. I have seen people put the behind or in front of the motor low but I dont have that room. I have seen some use the unused fuel tank mounts and mount it up high. That,s the way I went but I don't trust those mounts. I looked on you tube for reviews and the only bad thing i saw was those mounts breaking off from the weight of the full fuel tank and vibration. I decided to use those but make a bracket that uses more bolts on the motor. I came up with a bracket that it bolted down with 6 bolts on the motor. I havnt drilled the holes for the starter/gen bracket or the support yet, saving that for final alignment. Gonna do more in next few day and will post more. 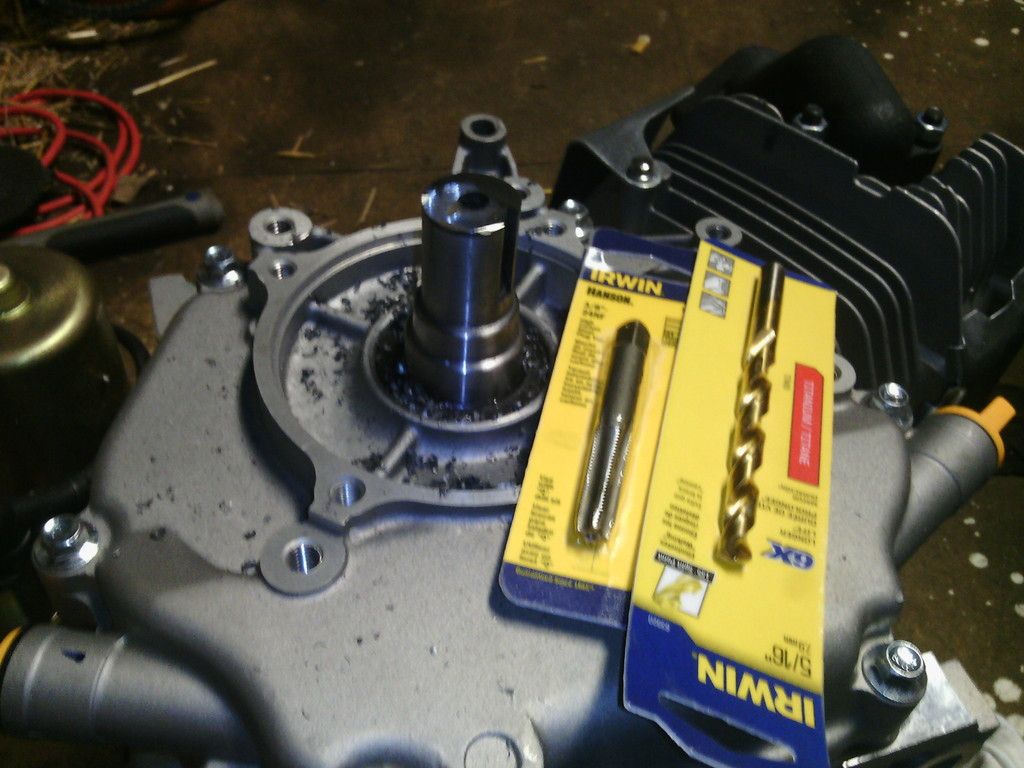 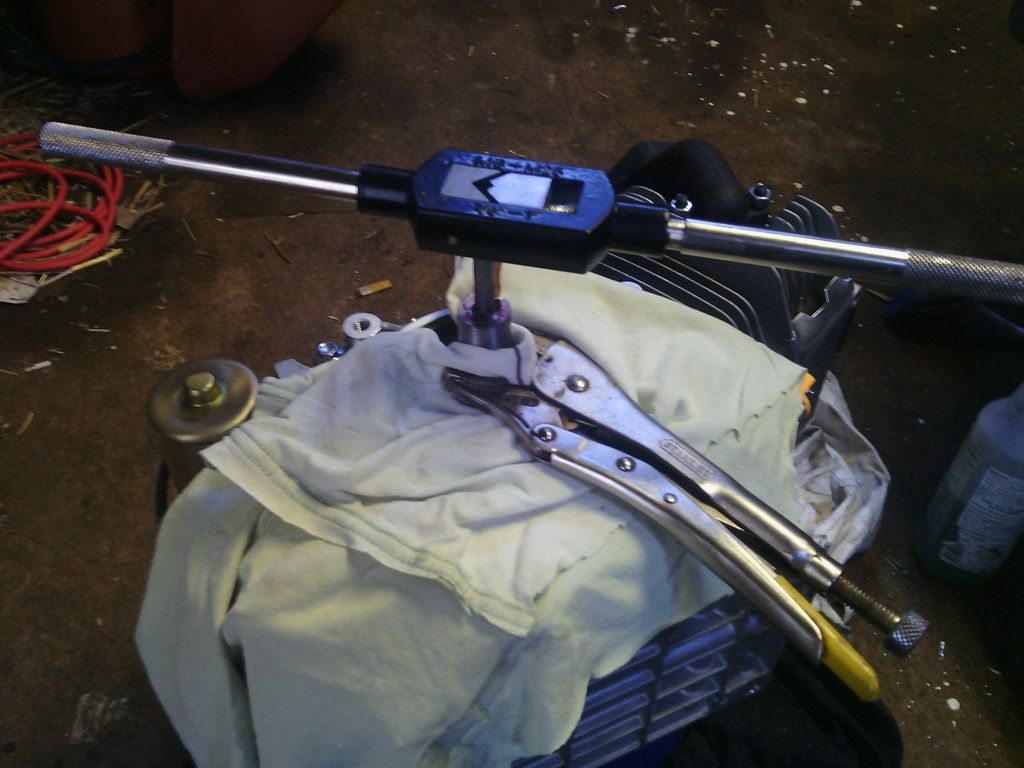 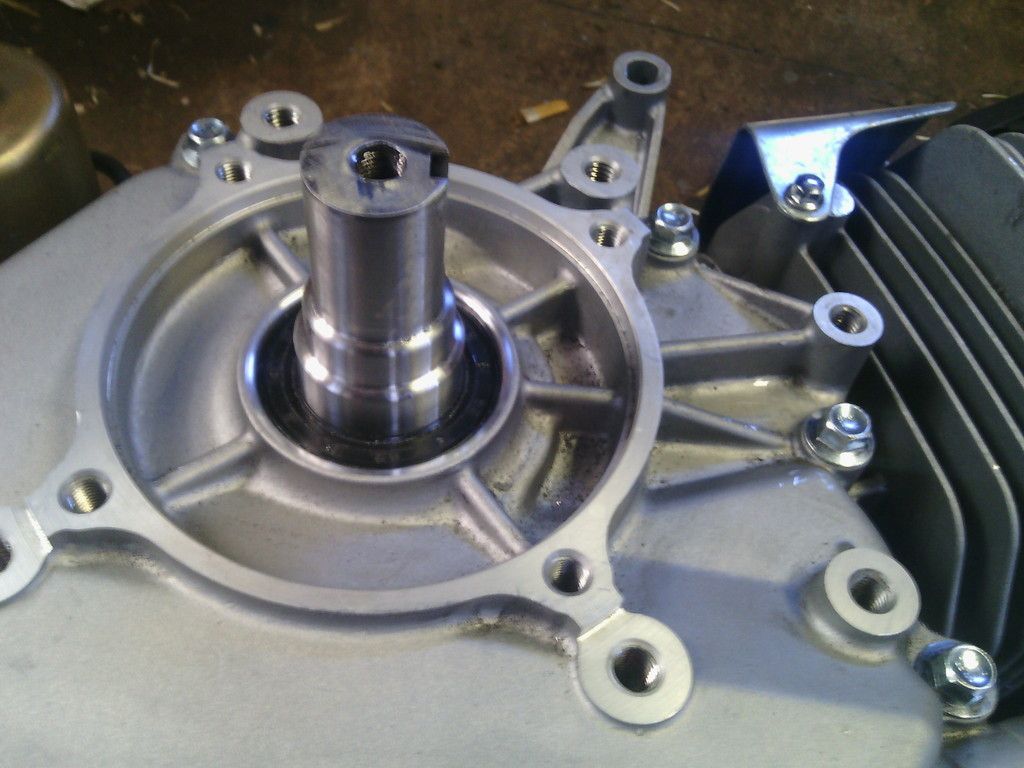 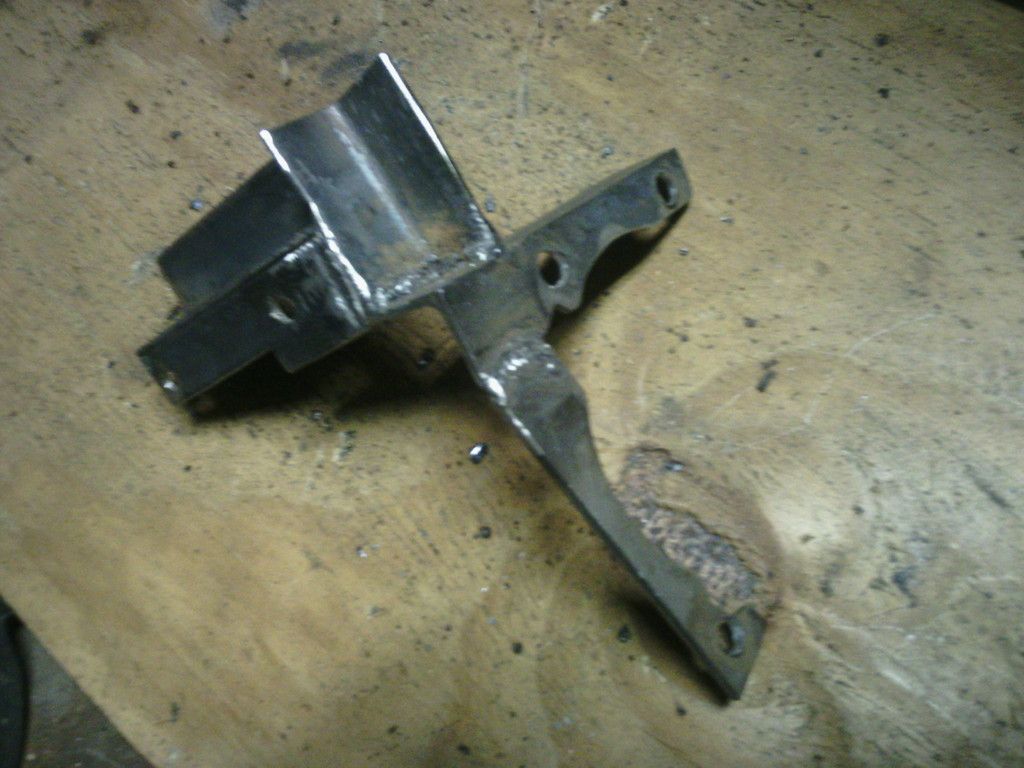 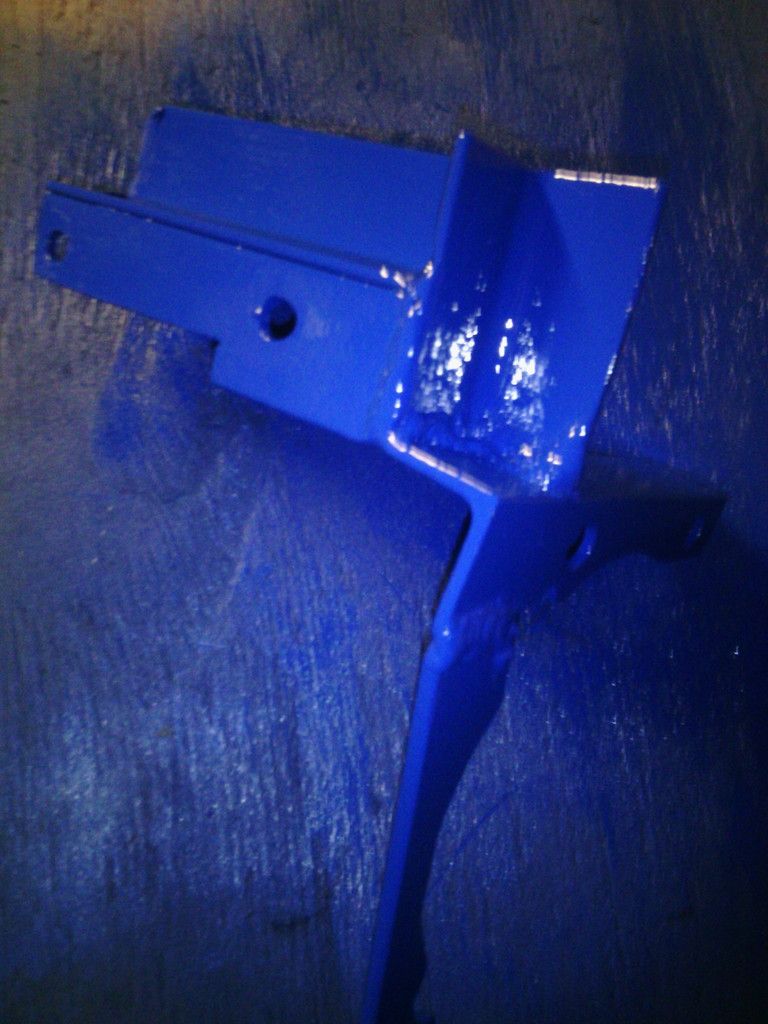 |
|
|
|
|
01-05-2016, 09:45 PM
|
#5 |
|
Not Yet Wild
Join Date: Dec 2015
Location: Park City, Ky
Posts: 34
|
    |
|
|
|
|
01-05-2016, 10:10 PM
|
#6 |
|
VC 460 CLONE GONE WILD

Join Date: Oct 2014
Location: Ray BY The Bay NJ
Posts: 10,639
|
With the S/G you don't need that other starter.Vegascarts sells cover plate if you don't feel like fabbing one up.
|
|
|
|
|
01-07-2016, 12:42 AM
|
#7 |
|
Not Yet Wild
Join Date: Dec 2015
Location: Park City, Ky
Posts: 34
|
I was planning on keeping both of them. I got a buddy who is a electrical wiz and he thinks he can wire it with a rocker switch on the dash, golf on one side and atv on the other. Working off the pedal in golf mode and off the key in atv mode.
|
|
|
|
|
01-07-2016, 07:32 AM
|
#8 |
|
VC 460 CLONE GONE WILD
Join Date: Oct 2014
Location: Ray BY The Bay NJ
Posts: 10,639
|
Sounds like a plan keep us informed.
|
|
|
|
|
01-10-2016, 09:45 AM
|
#9 |
|
Not Yet Wild
Join Date: Dec 2015
Location: Park City, Ky
Posts: 34
|
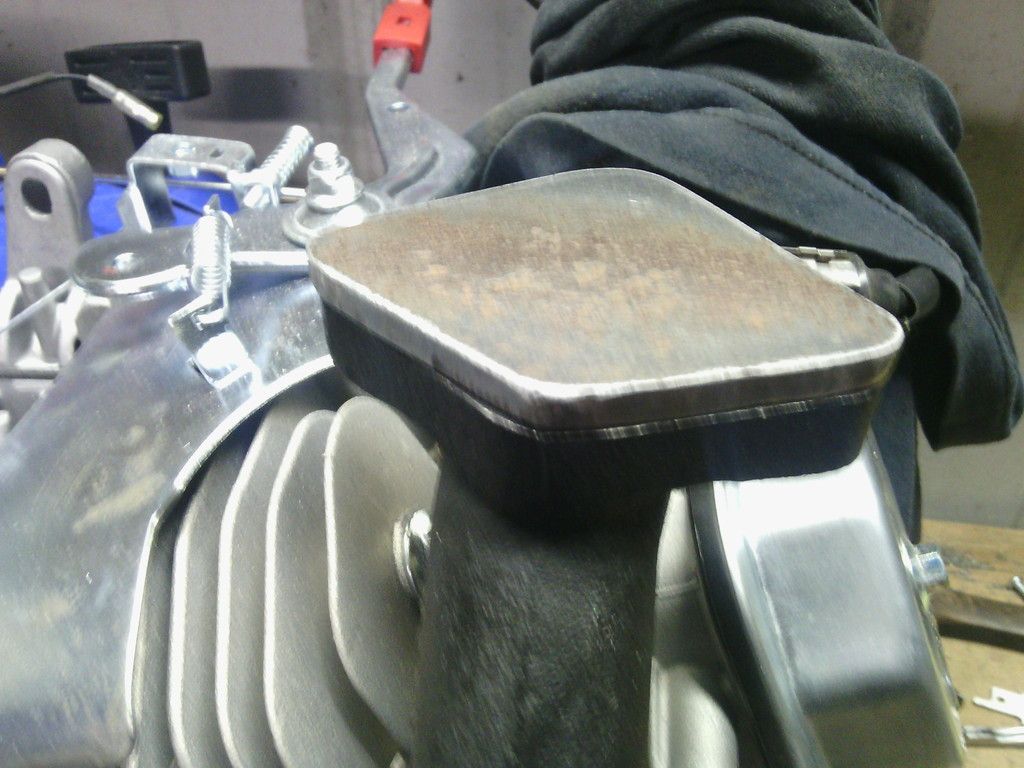
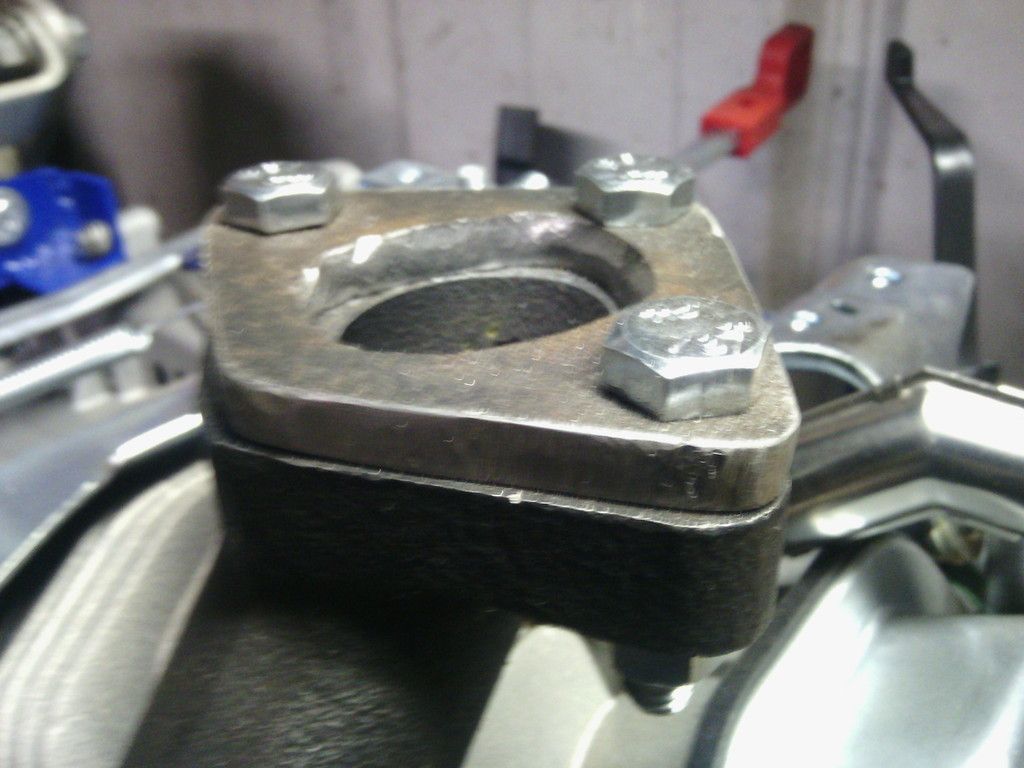
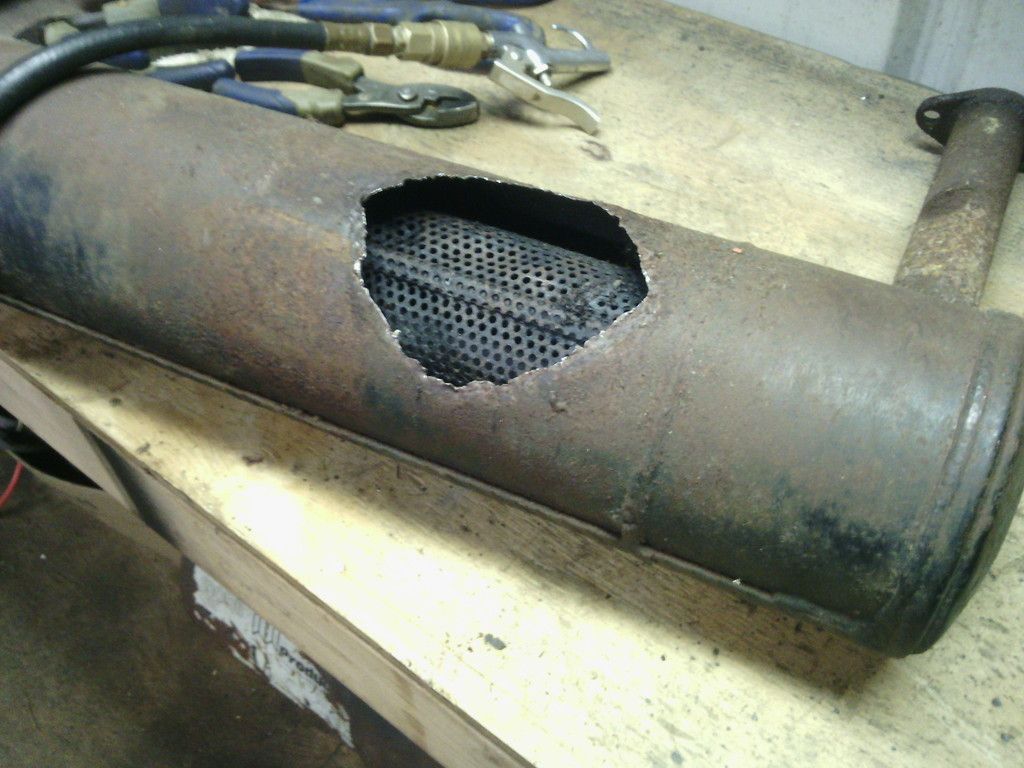
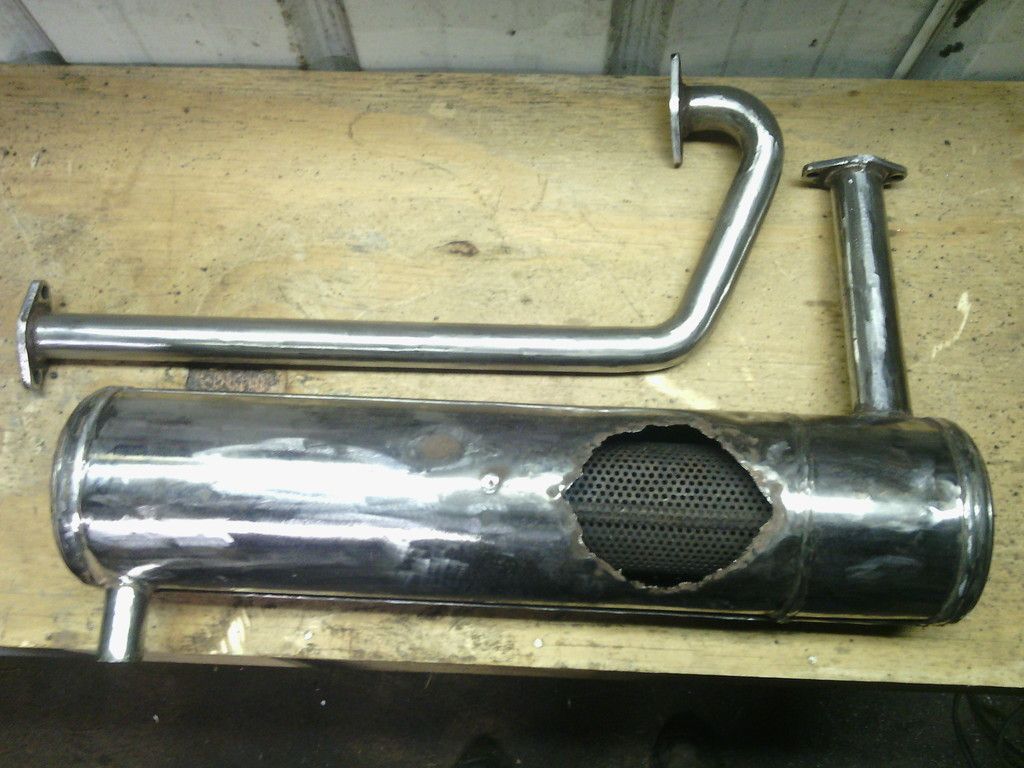
Alright...with my starter/gen mounted and my belt and intake adapter ordered i turned to my exhaust. I plan to use the stock cc muffler and as much of the stock exhaust pipe that I can. Only problem is a huge hole in the muffler. Someone must have hit a rock or something in the past. I used a piece of 1/4" steele to cut out my exhaust flange. I"m going to use 1" electrical emt for any exhaust pipe i have to add in. I got the muffler and pipe cleaned good so I can take down to my buddies and use his wire welder to weld a patch on the muffler.
    |
|
|
|
|
01-14-2016, 11:30 PM
|
#10 |
|
Not Yet Wild
Join Date: Dec 2015
Location: Park City, Ky
Posts: 34
|
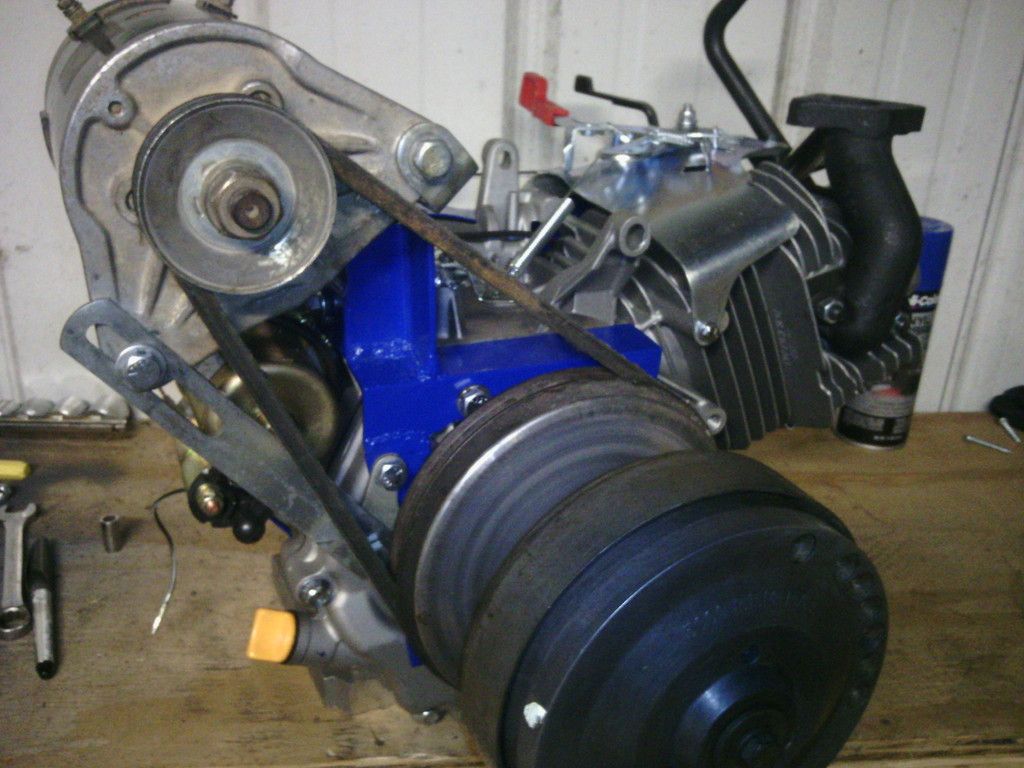
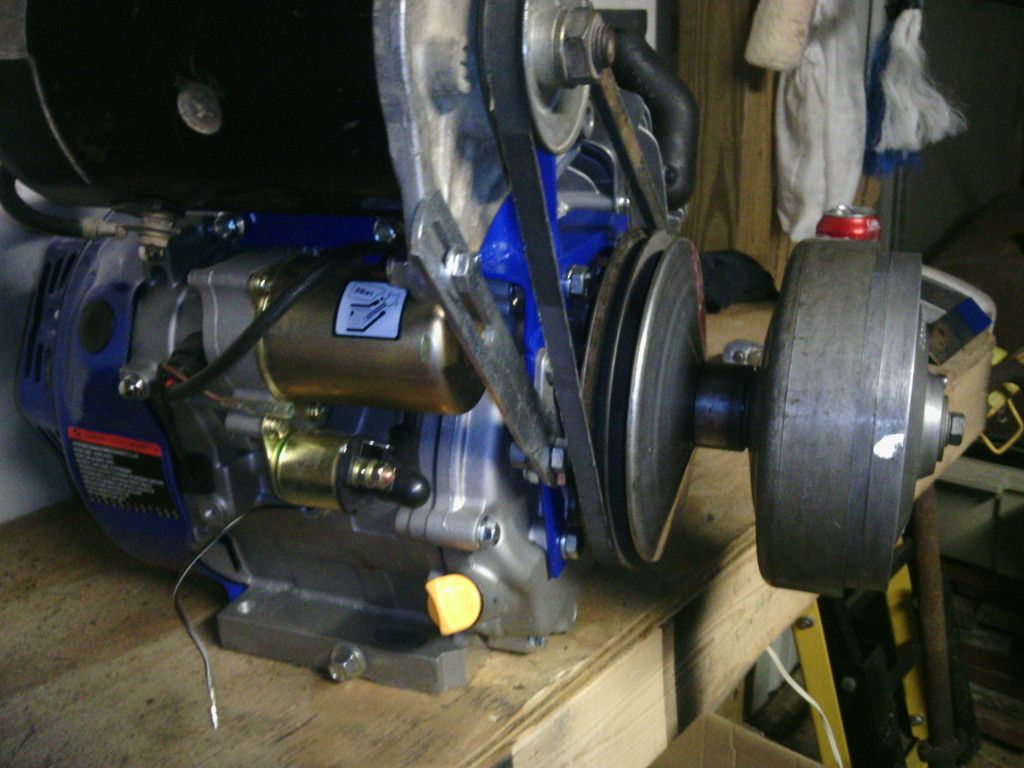
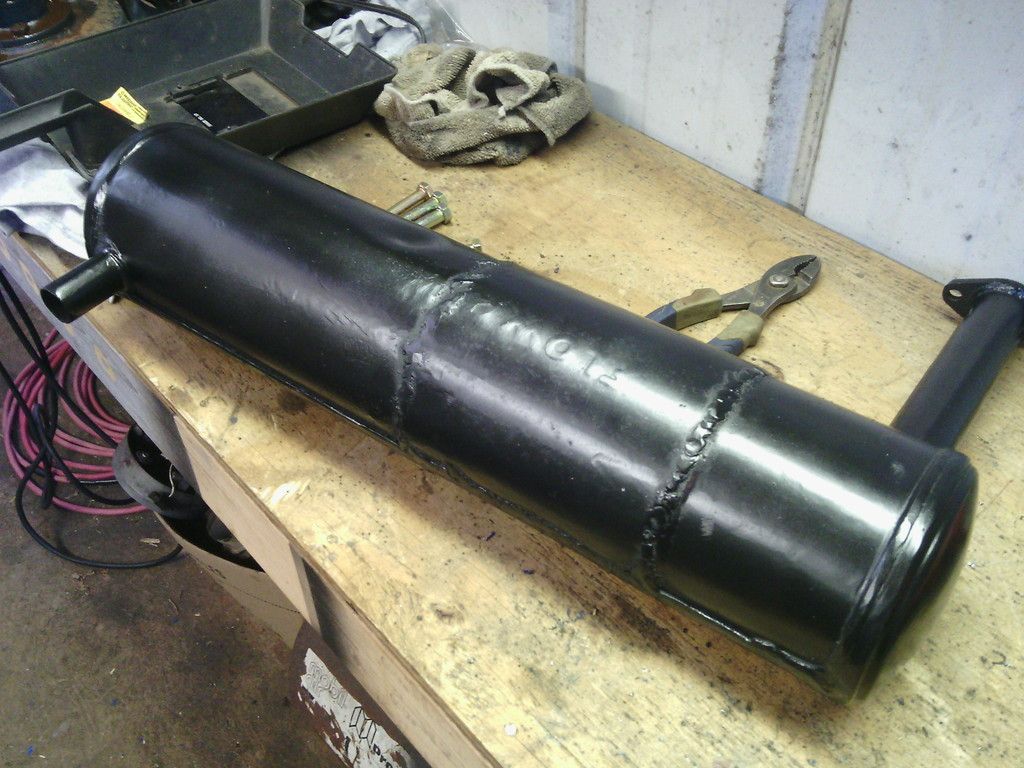
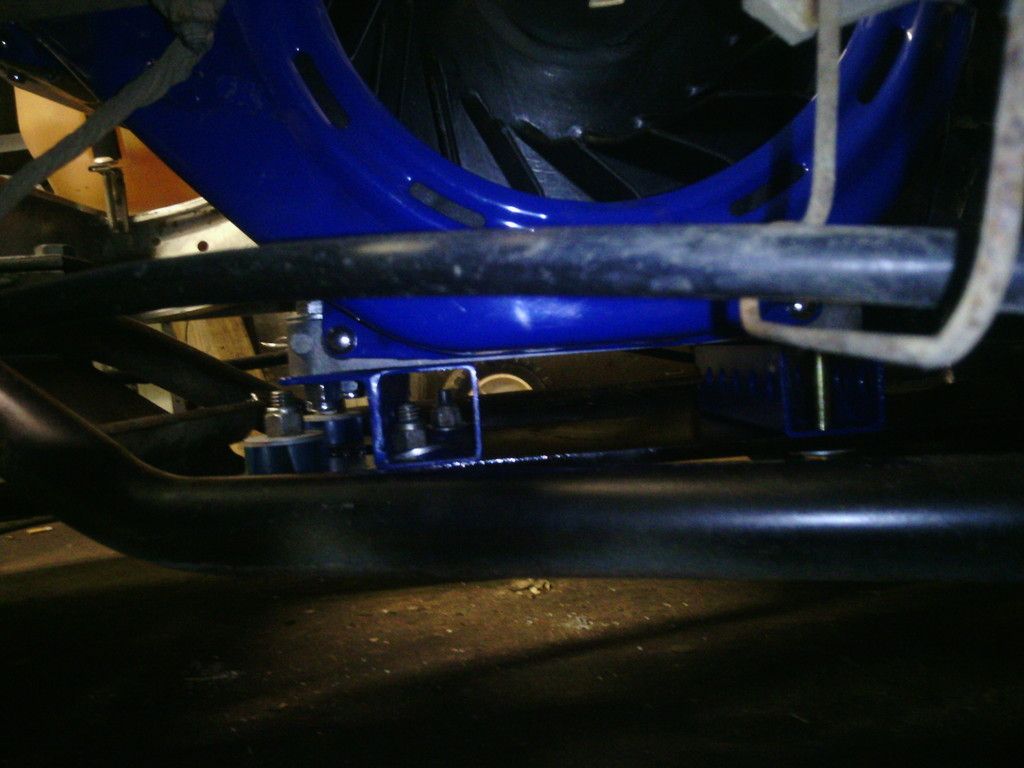
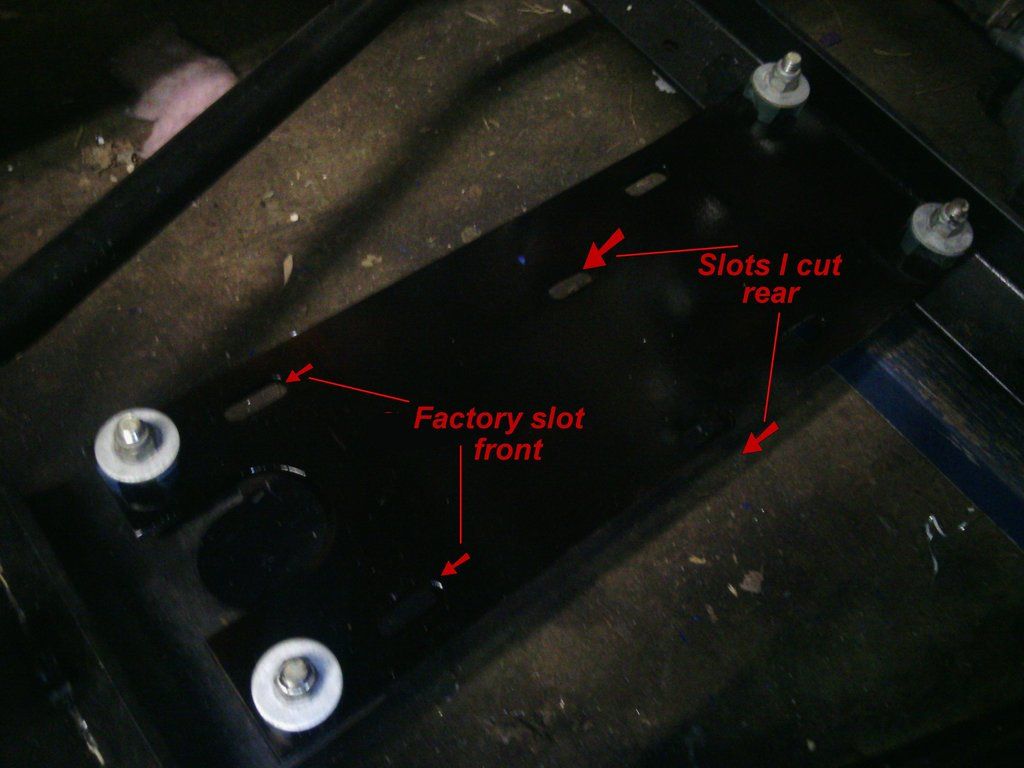
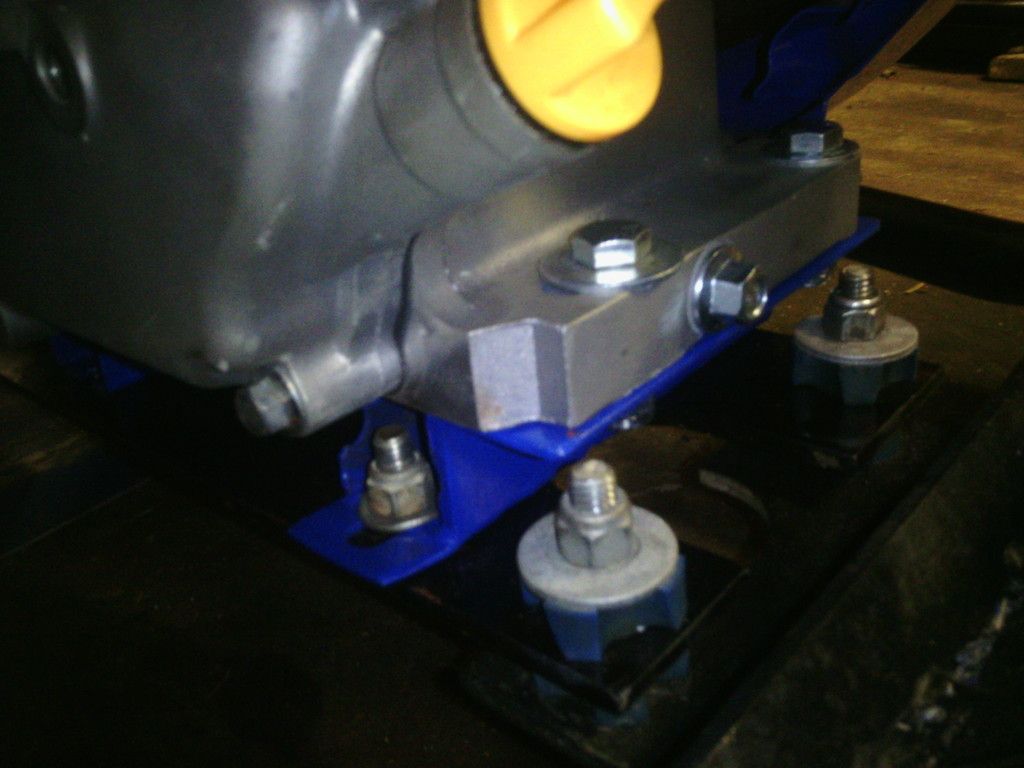
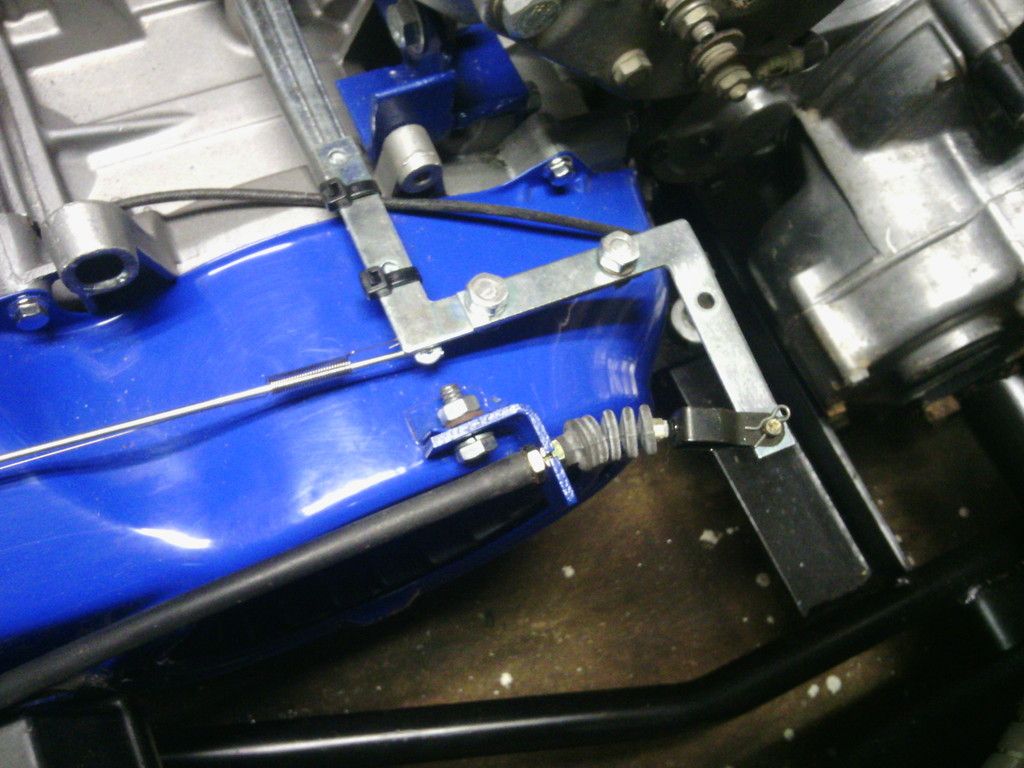
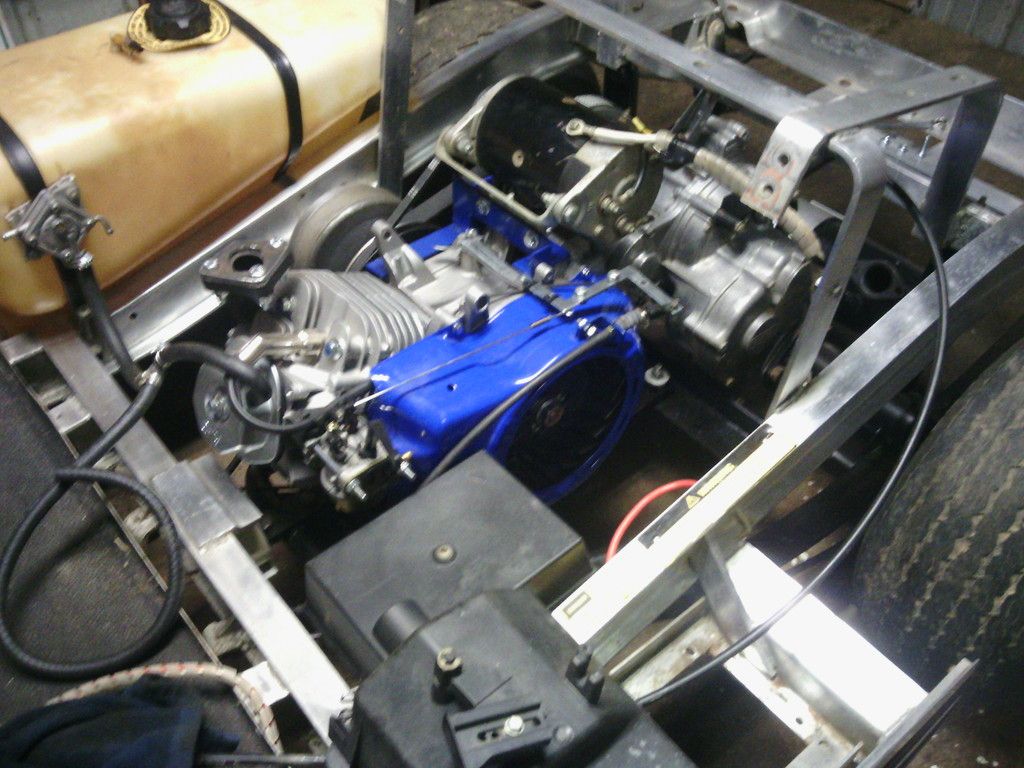
Update... So I've spent the last couple days working on her and I gotta say, saving the money for the big block kit and fabricating most of the parts myself have been alot of hard work, but satisfying. I got the muffler patched, painted and put on the cart. My belt came in so I got my motor lined up and finished my motor mounts and got it mounted. For the front I fabricated a motor mount using uni strut and 1 1/4" angle and use the front rwo factory slots. for the rear i used a piece of uni strut as the motor mount and cut two new slots. I found a yamaha throttle cable i had and it worked out perfect to give me a longer cable to reach my govoner rod. I only had to replace the small ball fitting in the throttle box with a 1/4" bolt and cut a slot for the cable then mount a tab by the govener to mount the other end, looks like its going to work well.
       |
|
|
|
 |
|
||||||
|
|
 Similar Threads
|
||||
| Thread | Forum | |||
| Trying to motivate myself to finish 84V build | On Road Golf Carts! | |||
| G1 build from start to finish line-x body | Gas Yamaha | |||
| My 27hp Kawasaki Workhorse from start to finish | Members Rides | |||
| MY MONEY PIT... Start to Finish, Finally!!! | Electric Club Car | |||
| 94 EZGO start to finish | Members Rides | |||


 Linear Mode
