
|
|
|||||||
| Gas Yamaha Gas Yamaha Golf Cars; G1 through "The Drive" and U-Max Utility Vehicles |
  |
|
|
Thread Tools | Display Modes |
 02-12-2013, 11:45 AM
|
#1 |
|
Gone Wild

Join Date: Dec 2012
Location: E. Wallyworld Vermont
Posts: 234
|
To make a short story long, A year or so ago I visited a race car buddy who mentioned he replaced his golf car since the piston went bad. He offered the cart to me at the time and it seemed it would fit the bill for what I need.
Well it took me a year to get back down with a trailer to collect it. Visually this ol' G1 is in pretty good shape, some rust at the battery tray but otherwise quite sound. 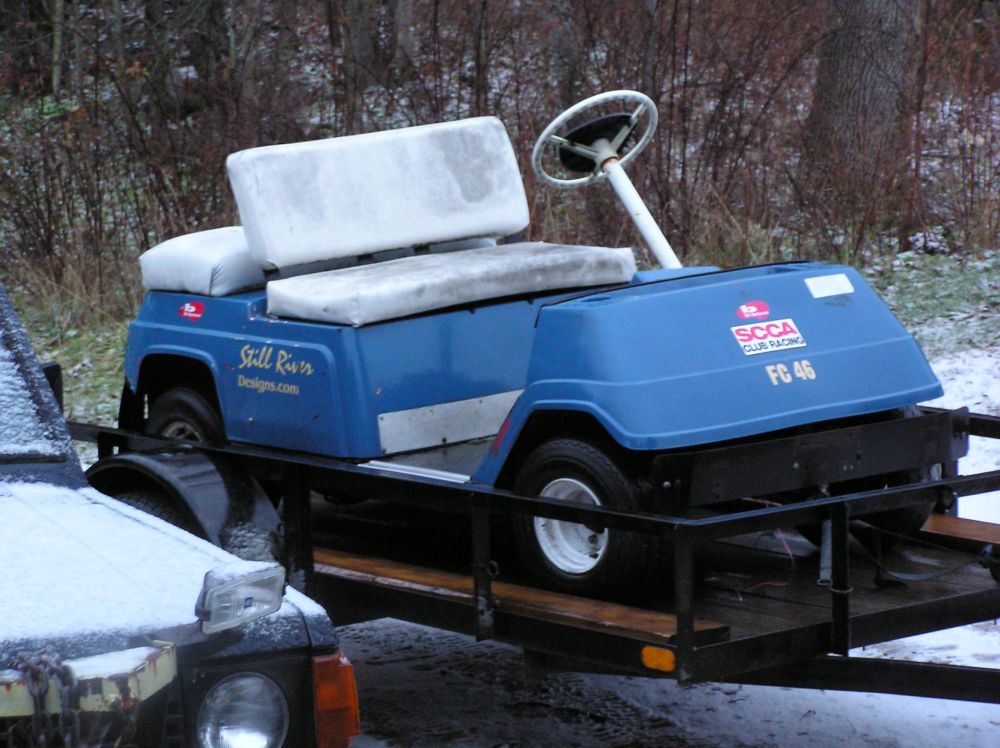 Turns out the engine was in a few boxes, he described he was driving in the paddock at an event and the engine just shut off, had a little clatter. He said it broke a piston, Yup it's broke. 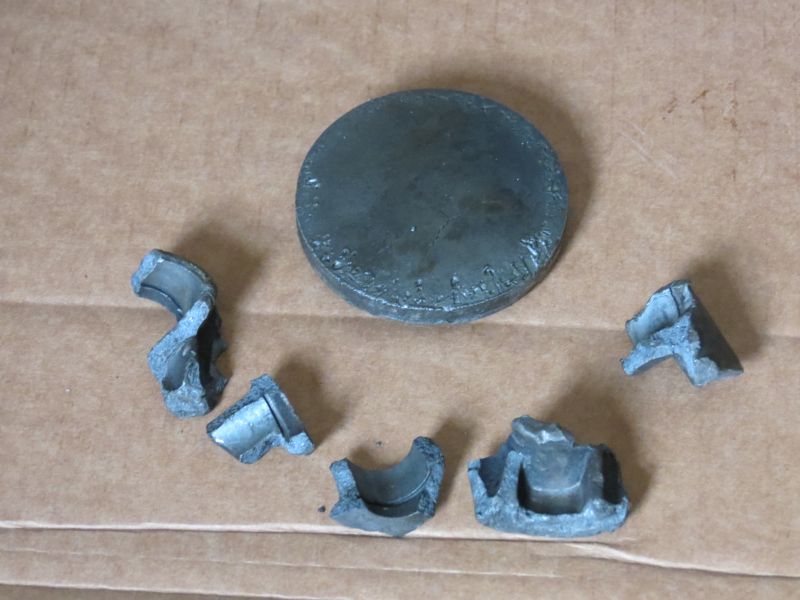 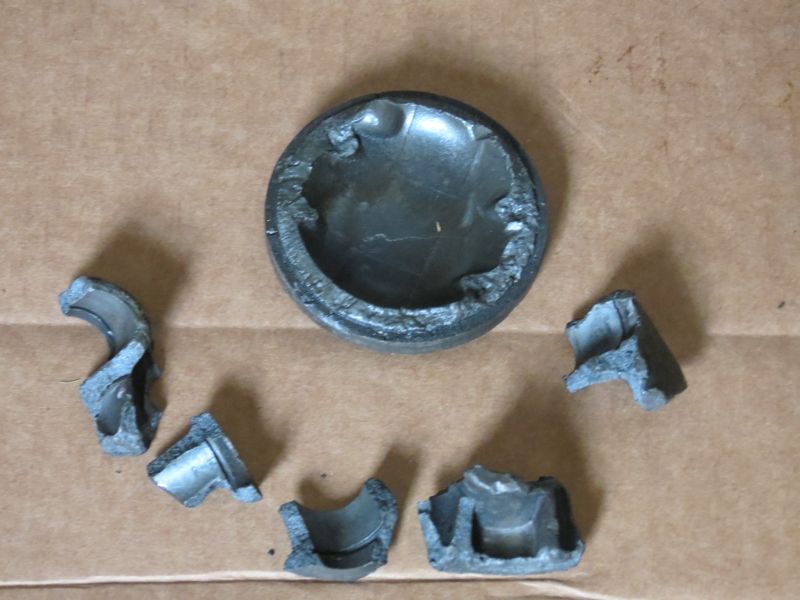 Kind of interesting since the governor is still intact but may have something to do with always towing a formula car around the paddock for a dozen years. With the engine apart I gave it a good look over. it is definitely rebuildable but will need new bearings, piston, seals and gaskets. I already knew I wanted something more to make this go. Searching around brought me here where I found many options of how to go about resurrecting this car. Right now I am starting with the simple and economical approach, buy a Bravo engine and drop it in. So here I am, a freshly delivered Bravo engine on a bench being converted to drop in the G1 chassis. Not much to show at this point since it is early in the project. In another thread I mentioned the G1 clutch did not fit the Bravo crankshaft, It just kind of sat there and rocked about. This took me by surprise but once I counterbored the center of the tapered hole enough the clutch mated up fine on the crank. That is cool. Going to the flywheel side I start pulling it apart and grab my flywheel puller for Yamaha outboards, dang meanies, the bolt circle of the puller is different. I will drill a new pattern when I get a chance and swap the pickup and flywheel over. I have ordered a pair of crank seals since it would be stupid not to freshen them while this is apart so I will wait for them to continue this task. One little bit I have done with no clue if it will be right or not was to machine a spacer to preload the primary spring in the clutch. I figure I need to start somewhere. All for now till I get to play with this some more. |

|

|
 Today Today
|
|
|
__________________
This advertising will not be shown in this way to registered members. Register your free account today and become a member on Buggies Gone Wild Golf Cart Forum |
|
|
02-12-2013, 12:54 PM
|
#2 |
|
Admin
 Join Date: Dec 2006
Location: TN
Posts: 101,850
|
Nice project. Welcome to the world of carts.
|
|
|
|
|
|
|
|
02-12-2013, 05:54 PM
|
#3 |
|
Searching for The Way
Join Date: Oct 2009
Location: Medina, Ohio (NEOHIO)
Posts: 11,432
|
Anxious to see the progress, great project!
There have been a few Bravo swaps here, but no one has really given any real descriptive details of the results. I'd be interested in what the results are, maybe a video? That would be really cool. I have an Enticer top end to bolt up to my G1 engine, just haven't had time to get to it yet. Hoped it would be done by spring but..... |
|
|
|
|
02-12-2013, 06:31 PM
|
#4 |
|
Gone Wild
Join Date: Dec 2012
Location: E. Wallyworld Vermont
Posts: 234
|
You will be running out of winter a month before I will so you best dig into that swap. As long as you have a suitable carb the project should not be bad.
I gave a fair bit of thought to the Enticer but since I needed to rebuild the crank in mine I was far better off gambling on a used engine. |
|
|
|
|
02-13-2013, 09:52 AM
|
#5 |
|
Gone Wild
Join Date: Dec 2012
Location: E. Wallyworld Vermont
Posts: 234
|
This morning I made a few clutch parts. I was missing the roller that rides over the spring so I bought a 6806 bearing and machined a tube that will support the belt from riding on the spring when idling.
First pic is the machined tube with bearing pressed in with a preload spacer next to it, And here is the stack of roller, a preload spacer and the spring. 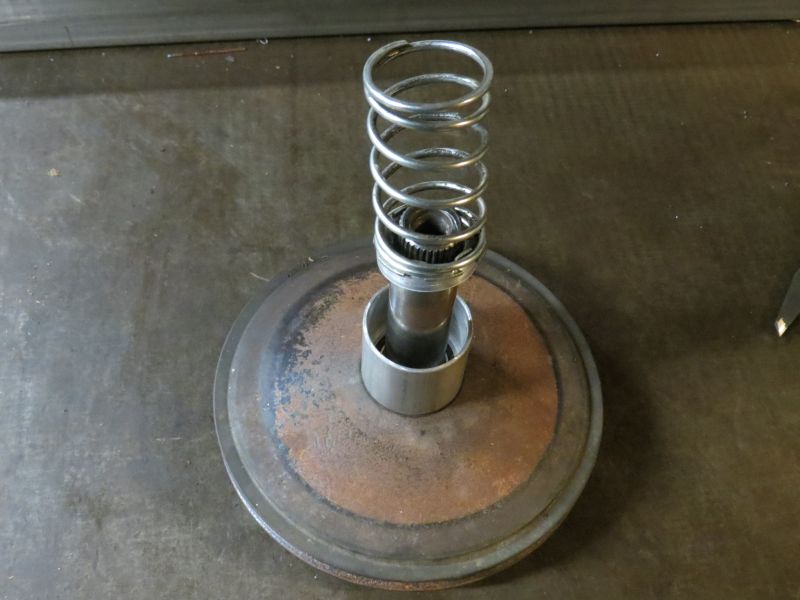 This is about all I want to do with this clutch at the time since the flyweights and pins are not in such great shape. I expect I will get this running and then decide if I will keep this clutch or move on to something newer or find a better set of weights for this one. |
|
|
|
|
02-13-2013, 10:26 AM
|
#6 |
|
Gone Wild
Join Date: Dec 2012
Location: E. Wallyworld Vermont
Posts: 234
|
One of the next parts I will be making an engine mount adapter plate.
Below is a screen print of the plate, this will mount the Bravo motor using the existing holes in the G1 engine bracket and positioning the original clutch where it originally was.  Lord knows what other clearance issues there will be. I may get a chance to do a trial fitting with a temporary plate made from Masonite before I commit to a steel plate. |
|
|
|
|
02-14-2013, 05:54 PM
|
#7 |
|
Searching for The Way
Join Date: Oct 2009
Location: Medina, Ohio (NEOHIO)
Posts: 11,432
|
Yeah I don't know if the stock clutch will operate at the correct rpm for you since your motor is full sled trim. You'll likely need another 1000rpm takeoff to take advantage of the power. If you drill small holes one at a time in the flyweights that will raise engagement rpm, but not sure how smooth. I'd vote for a nice comet or high performance clutch of some sort.
|
|
|
|
|
02-14-2013, 06:32 PM
|
#8 |
|
Gone Wild
Join Date: Dec 2012
Location: E. Wallyworld Vermont
Posts: 234
|
I had not thought of drilling the weights. Decades ago I ground the weights down on a clutch on a modified Rupp Minibike, that worked nice but by drilling it would be easier to put weight back on by inserting a roll pin in the hole should the need be.
I did discover that the added preload spacer restricts the full travel of the primary clutch so I have had my mind on the weights. This thing will need either a replacement of different clutch before long but being I am building a new racecar for myself this winter the little G1 comes out on the bottom of the financial stick this winter. I did do a trial fitting of the engine this afternoon. There was no room for the carb with the engine sitting down on the mount. More later since I am just ending work for the day. |
|
|
|
|
02-15-2013, 08:53 AM
|
#9 |
|
Searching for The Way
Join Date: Oct 2009
Location: Medina, Ohio (NEOHIO)
Posts: 11,432
|
I have seen where guys have used pvc pipe for intakes and used the rubber collars to hold the pipe. Doing this would enable you to mount the carb at 90 degrees away from the engine? I've seen it done, just never tried it. I wouldn't thing the 90 bend would offer much flow resistance. I also saw on another thread here where a guy went to a tractor boneyard and found an aluminum carb mount that was 90 degrees, another thought.
You could shim the motor up if it's that kind of clearance you need? Wouldn't be that hard in a G1 to move it up an inch? |
|
|
|
|
02-15-2013, 09:52 AM
|
#10 |
|
Gone Wild
Join Date: Dec 2012
Location: E. Wallyworld Vermont
Posts: 234
|
Yesterday I started considering a 90° elbow, I would fabricate mine from aluminum tube but with the engine set down with just an adapter onto the original mount the rubber carb mount is aimed right at the gear case. not even room for a decent elbow.
Looking at some other installs on this forum I realized the original G1 engine leans forward about 15°. Being my original engine was sitting apart in boxes I never noticed that. So my next step is to make an angled mount leaning the engine forwards therefore raising the carb up. This with nipping off the upper fuel pump mount should do the trick. It is warm up here again today so I am hoping to notch the Bravo fan housing for starter clearance and do another trial fitting. I have also considered relocating the axle/gearbox. Basically mounting the axle under the subframe giving a 3" lift without any spring- shock changes. This would lower the gearbox below the carb and raise the clearance for tires with very little mods needed. |
|
|
|
|
|
||||||
| Thread Tools | |
| Display Modes | |
|
|
 Similar Threads
|
||||
| Thread | Forum | |||
| G1 big block project br250 bravo | Gas Yamaha | |||
| G1 bravo, how to lock the rear end | Gas Yamaha | |||
| Help with Green Car model Bravo | Electric golf carts | |||
| Bravo Buggy For Sale | Golf Carts and Parts | |||
| Bravo engine in a G1 | Gas Yamaha | |||


 Linear Mode
