
|
|
|||||||
| Gas Yamaha Gas Yamaha Golf Cars; G1 through "The Drive" and U-Max Utility Vehicles |
  |
|
|
Thread Tools | Display Modes |
 04-23-2013, 10:04 AM
|
#71 | |
|
Searching for The Way

 Join Date: Oct 2009
Location: Medina, Ohio (NEOHIO)
Posts: 11,436
|
Quote:
 |
|

|

|
 Today Today
|
|
|
__________________
This advertising will not be shown in this way to registered members. Register your free account today and become a member on Buggies Gone Wild Golf Cart Forum |
|
|
04-29-2013, 09:57 PM
|
#72 |
|
Searching for The Way
Join Date: Oct 2009
Location: Medina, Ohio (NEOHIO)
Posts: 11,436
|
Charlie, I can't find my manual. I have it, just can't locate it. I'd really like to see if we can get a little more timing.
By the way, I got one of those tach's. The Equus 8068. It works great. I have a couple video's posted in my Enticer build thread. I also got one of the digital tachs to double check the Equus. Will let you know how accurate the Equus is... |
|
|
|
|
04-30-2013, 05:35 AM
|
#73 |
|
Gone Wild
Join Date: Dec 2012
Location: E. Wallyworld Vermont
Posts: 234
|
I am thinking I will be painting a mark on the fan or the clutch and use a timing light to see if there is any advance. If the engine is staying at TDC then I will look more seriously at the adjustable CDIs that are available.
Reading comments in your BB thread about the small digital tachs it looks like they are a waste of money for diagnostic use. |
|
|
|
|
06-13-2013, 06:23 PM
|
#74 |
|
Gone Wild
Join Date: Dec 2012
Location: E. Wallyworld Vermont
Posts: 234
|
Umm it has been since the end of April since I have had a chance to touch anything on this little G1. It has been performing well and serving me daily assisting in my tasks working around the yard. Nice thing is it has not asked for any work to be done.
But having delivered a large customer job and the rain passing through the North East I took a chance to get back to working on the clutch. The primary clutch has about 3/16 of side room to the belt when static, this is with a 1 1/4" wide belt I am running. The clutch engagement has been unpredictable and harsh and I would not say there is allot of power available when driving off. This large clearance to the belt was the first thing I wanted to address before I start rebuilding the weights & pins. I really wanted to get an idea what I want to do about grinding or drilling the weights before taking things apart. Since I have been running a spacer behind the primary spring which really is at the verge of limiting the full travel of the primary clutch I decided I would remove that spacer and shim between the moving sheave and the steel plate the clutch weights drive against. This will move the primary sheave in closing up the excess space to the belt and keep the weights working in a more perpendicular geometry as well as bring back some of the preload of the spacer I had behind the spring. I figured this should help with something. Not expecting much from this change I did not bring my camera into the shop. Well a big surprise on me. This has been the biggest positive change I have made to this car with the Bravo swap. The clutch still initially engages around 1600 rpm but the engine revs right up freely till the clutch upshifts. I just have a real cheapy digital tach that refreshes way to slow so at this time I do not know the shiftpoint but at this time the clutch engages very smoothly, the cart is prone to spewing gravel at light throttle but then shifts right up so it drives at low revs. Being it was raining during the drive further evaluation will need to wait a day. Photos will follow as well. |
|
|
|
|
06-14-2013, 06:08 PM
|
#75 |
|
Searching for The Way
Join Date: Oct 2009
Location: Medina, Ohio (NEOHIO)
Posts: 11,436
|
Man that's a great idea Charlie! I've been reading alot about clutches and I've never heard of anyone trying that. I might have to give it a try.
|
|
|
|
|
06-14-2013, 09:48 PM
|
#76 |
|
Gone Wild
Join Date: Dec 2012
Location: E. Wallyworld Vermont
Posts: 234
|
I had to rebuild the outlet on my pond since it Broke through a week ago, poor little fishies, and acre sized pond drained out. 8 hours in the muck and water today.
I used the cart a fair bit today carrying tools as I worked. It is quite interesting how much better it drives. The engagement is still down low and gentle and the engine revs right out then shifts up. The shift is from 2500 to 3500 with light to moderate throttle. I am not sure yet if it is upshifting to much or not since I have not put much load to it yet. One thing I noted when I removed the clutch cover was the weights were contacting the outside of the housing. The spacer took care of that. Over the weekend I will get to give it some full throttle runs and see what it is doing. |
|
|
|
|
06-17-2013, 04:25 PM
|
#77 |
|
Gone Wild
Join Date: Dec 2012
Location: E. Wallyworld Vermont
Posts: 234
|
The shiny alloy spacer can be seen here between the wear plate and the moving sheave.
This shows the clearance to the belt with this setup, one note is before I installed the spacer the clutch was prone to dragging, not as bad as some descriptions I have read here but it was lazy about disengaging. It is now much more crisp about engaging and disengaging. 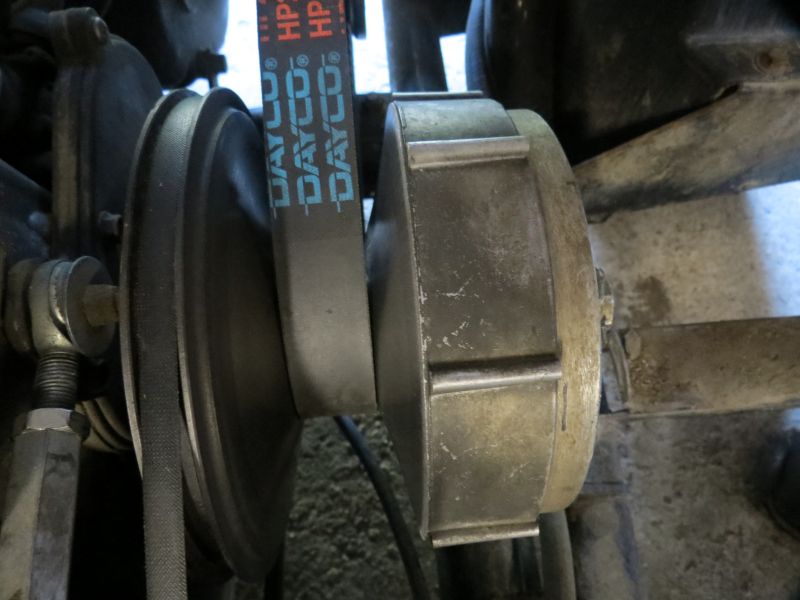 and this is with some of the more worn weights & pins to be found, 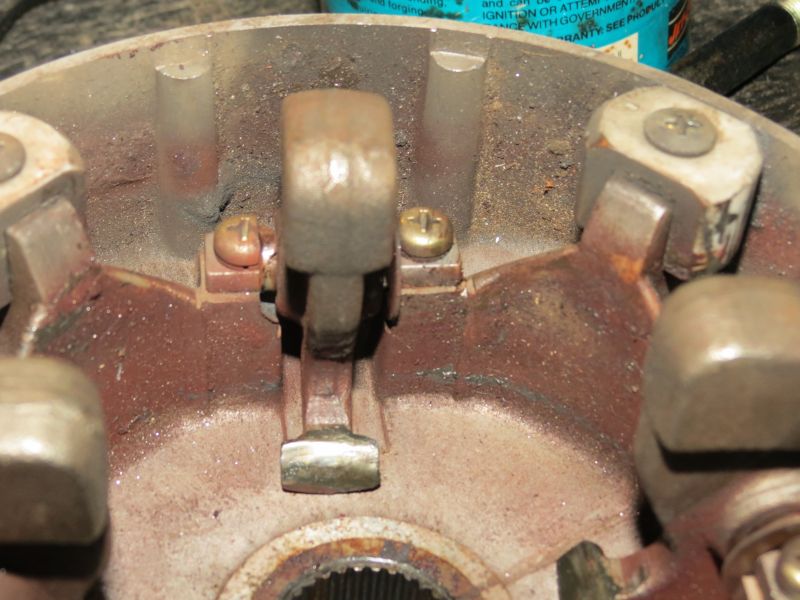 My wife would have to get a shot of me driving up from the pond with a wetsuit on. 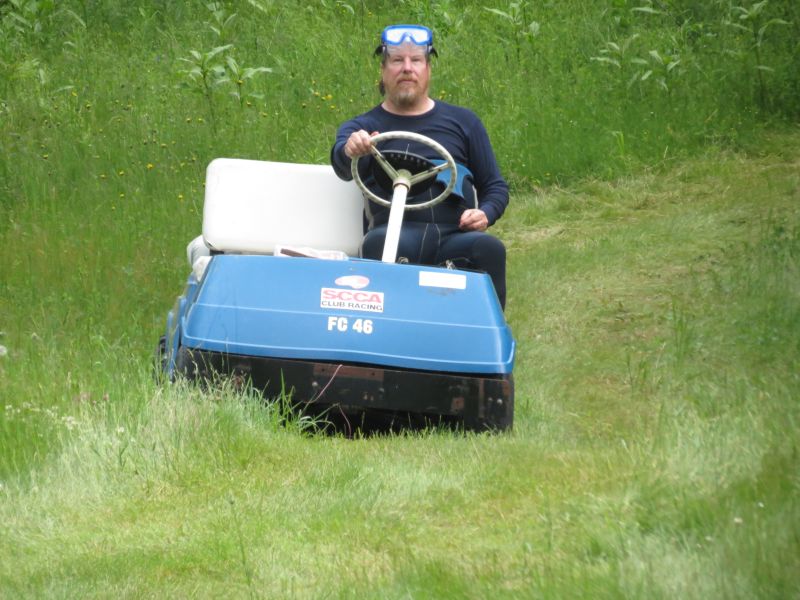 |
|
|
|
|
06-18-2013, 11:29 PM
|
#78 |
|
Searching for The Way
Join Date: Oct 2009
Location: Medina, Ohio (NEOHIO)
Posts: 11,436
|
That wetsuit is a good look, along with the scuba mask and slicked hair! LOL That's just a classic pic. You'll be seeing that on on the coffee table!
|
|
|
|
|
|
||||||
|
|
 Similar Threads
|
||||
| Thread | Forum | |||
| G1 big block project br250 bravo | Gas Yamaha | |||
| G1 bravo, how to lock the rear end | Gas Yamaha | |||
| Help with Green Car model Bravo | Electric golf carts | |||
| Bravo Buggy For Sale | Golf Carts and Parts | |||
| Bravo engine in a G1 | Gas Yamaha | |||


 Linear Mode
