
|
 03-03-2009, 05:37 PM
|
#21 |
|
Admin/Moderator

 Join Date: Dec 2006
Location: Ohio
Posts: 18,046
|
 Keep the pics coming!! Keep the pics coming!! |
|
Ron
 PLEASE VISIT Our Sponsors * BGW GEAR The Store The G2 Project * Swing Arm Drop & Repair * Geep1 Project |
|

|

|
 Today Today
|
|
|
__________________
This advertising will not be shown in this way to registered members. Register your free account today and become a member on Buggies Gone Wild Golf Cart Forum |
|
|
03-03-2009, 11:49 PM
|
#22 | |
|
Not your usual outlaw
Join Date: Oct 2008
Location: Near Lake Geneva, WI
Posts: 20,054
|
Quote:
 |
|
|
|
|
|
03-07-2009, 05:13 AM
|
#23 |
|
Getting Wild

Join Date: Feb 2009
Location: Osteeeeen, Fl
Posts: 116
|
Dang bein sick sucks... Can't get anything done. Finally kicked the bad part of the cold, now I just want to sleep all the time!
Well, I ended up at the shop tonight for some play time. I started by replacing the rotted frame section on the drivers side under the floor panel... 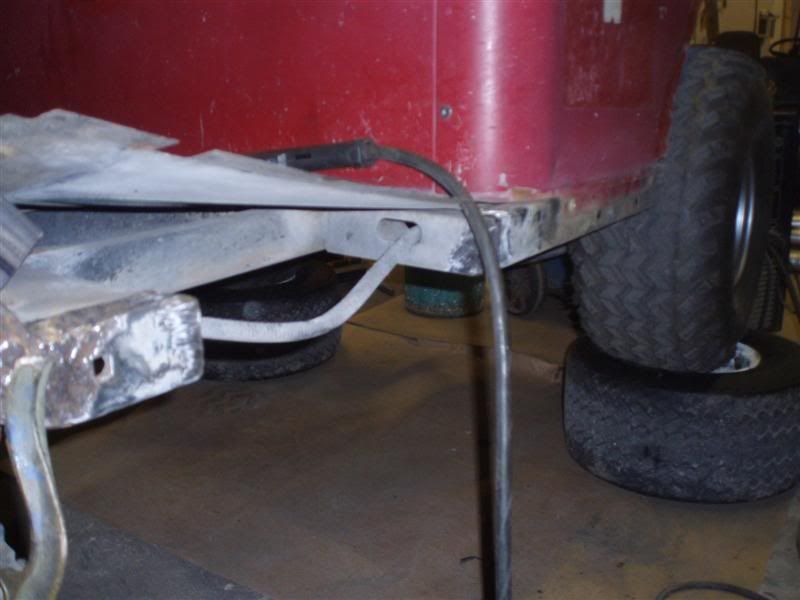 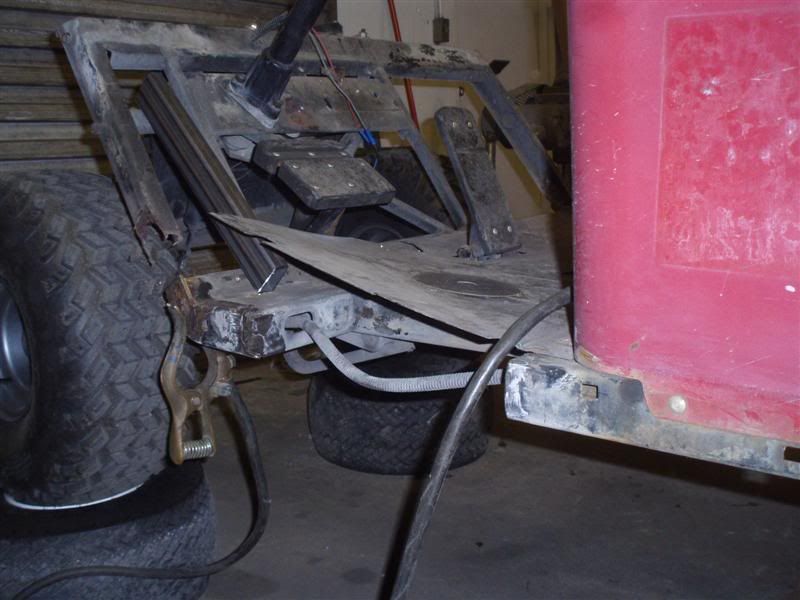 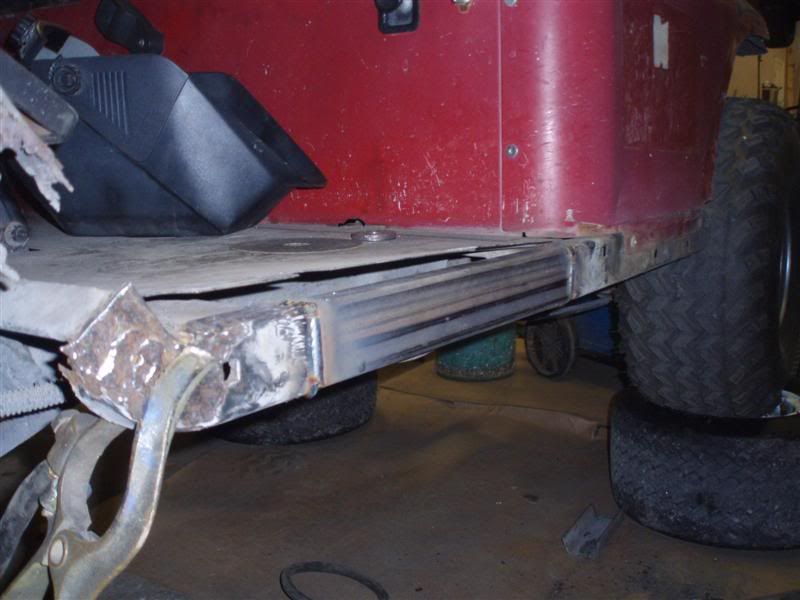 From the underside...  Then I went to replace the section on the windsheild support. I took more photos to explain how I did it in case someone else wants to duplicate. Right or wrong, heres what I did.. First I cut out about 6" of the frame section. I then ground the cross support at the floor nice and flat, so the 1x2x0.120 wall box tube would sit nice. 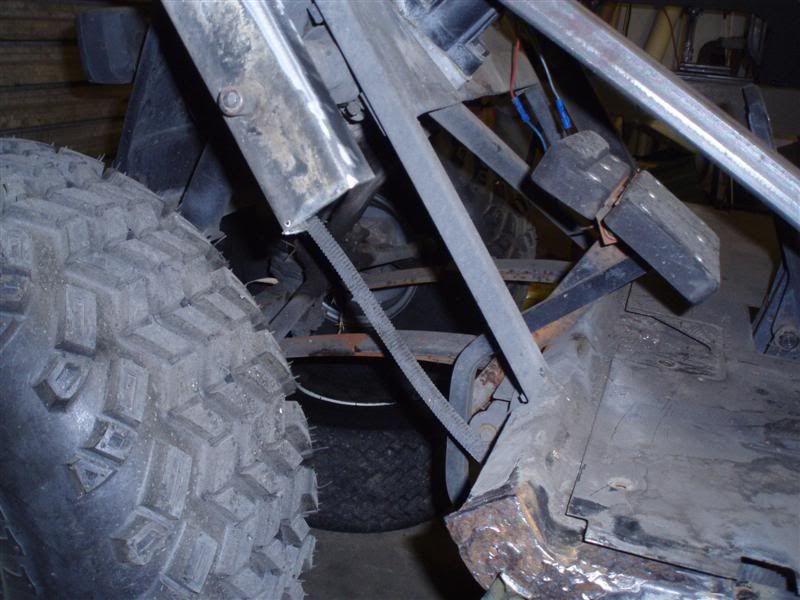 Next. I got about a 12" long peice of metal and tack welded it to the topside of the frame rail, then welded it to the cross support down below. This is because once the rail rotted out down on the bottom, it lost the alignment. Doing this restored the alignment. You can kind of see in the next photos. Once that was in, I cut about a 7" long piece of 1x2, and lined it up on the bottom, then marked my cut line on the frame rail.  A little touch up grinding and the replacement peice fit in nice.. 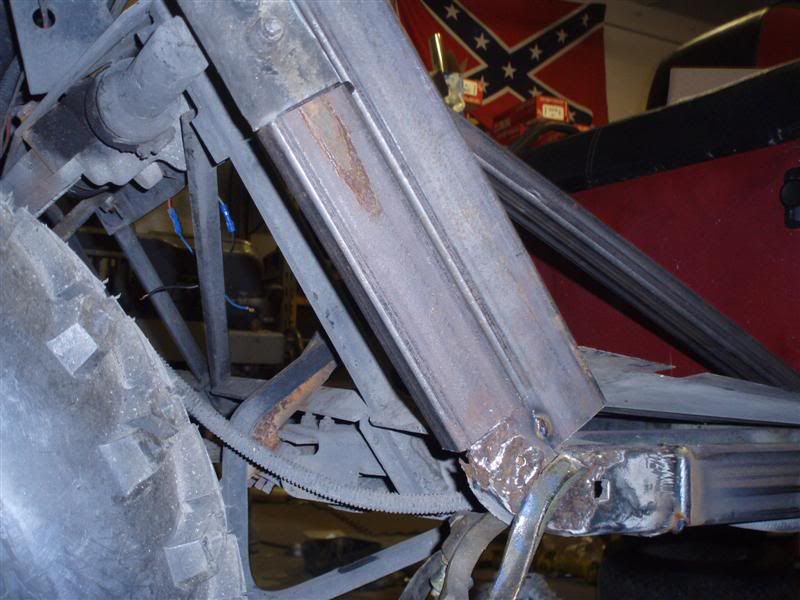 Satisfied with the fitup I welded it out.. 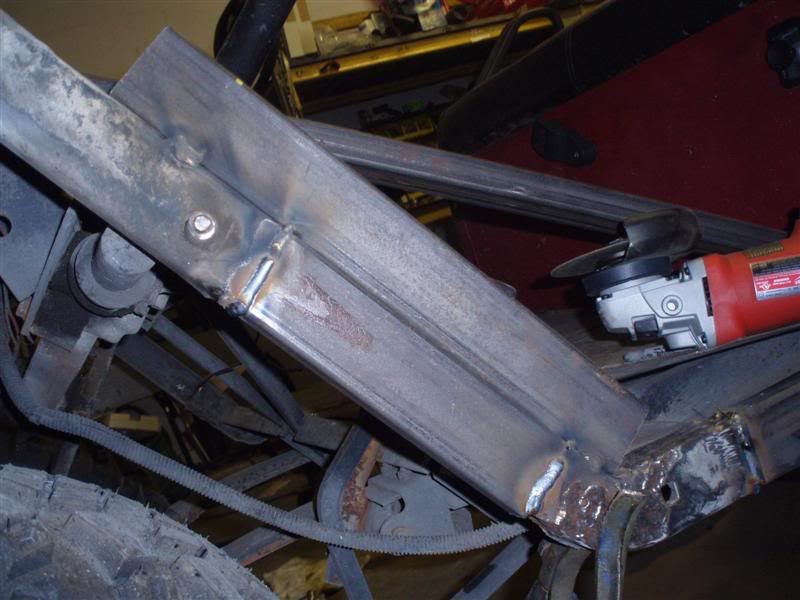 Then grind out the tacks for the temporary support, and finish welding and its done.. 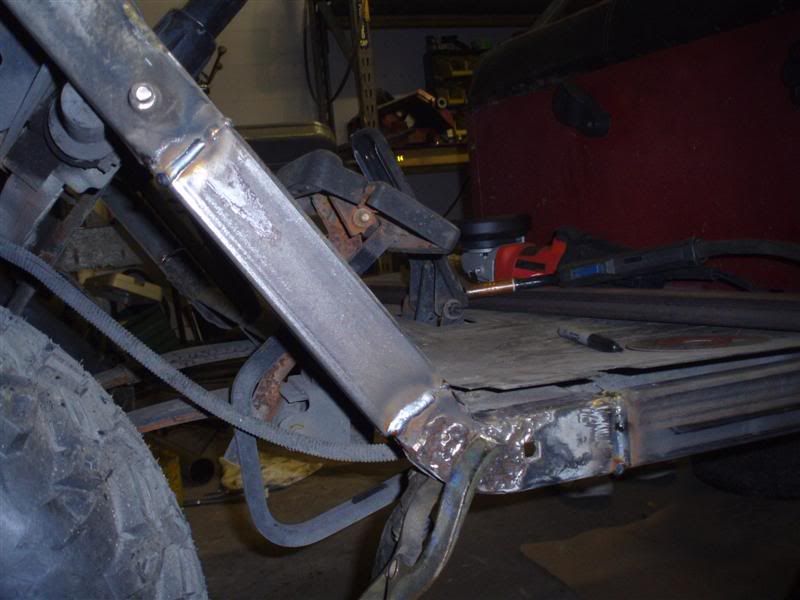 I then did the other side..BTW, auto tinting hoods are for wimps   With the frame now taken care of, I went on to the body work. Removed the uprights for the seats, plastic trim around the seat base, choke cable, FNR switch, etc. I didnt get a pic, but I started sanding the body down. Got the passenger side, the area below the seat, and some of the drivers side done before my air compressor overheated. Also got my first layer of filler down on the passenger side, filling in the dings.. 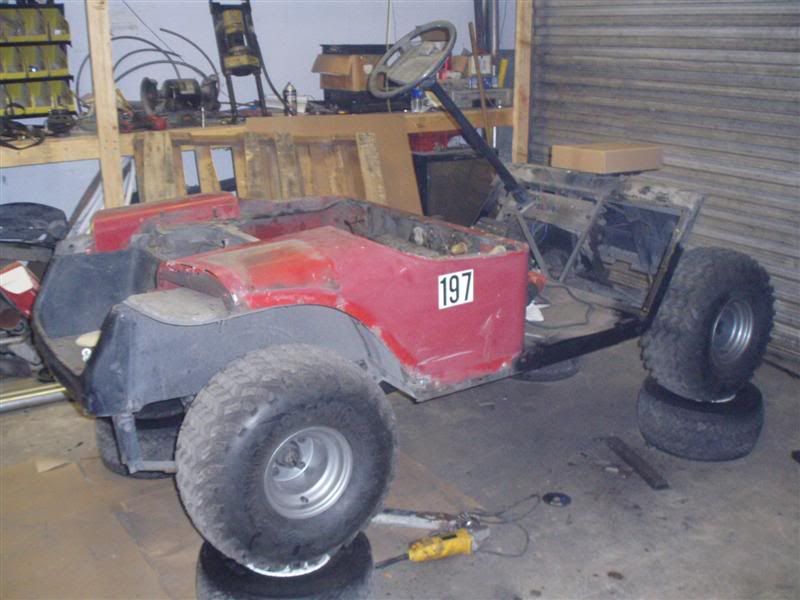 I hope to have her painted by the end of the weekend! Maybe tomorrow night! |
|
|
|
|
03-07-2009, 11:15 AM
|
#24 |
|
Gone Wild
Join Date: Oct 2008
Location: Out past the Creek, Arizona
Posts: 856
|
Looking good, nice repair work...
|
|
|
|
|
03-08-2009, 03:15 AM
|
#25 |
|
Getting Wild
Join Date: Feb 2009
Location: Osteeeeen, Fl
Posts: 116
|
Thanks Quad..
Made some progress today.. Thank god its not red anymore! Man, that color was just hideous! Its now Viper Blue. It was a rush job, and it shows. The drivers side paneling was too bent up to get it straight without spending days on it(which, its just not worth it to me) since the creases almost make it look like it was squashed down.. So I just smoothed out the defects as best I could. Ended up with a naaasty run in the base coat on the cowl. Pisses me off because to run base coat you have to really have your head up your rear end, and what can I say, I guess I did! Application on the rest of the body was fair. Lighting at that section of the shop is fairly poor. It looks pretty bright in the pics, but alot of that is due to the flash. If I have time tomorrow to check it out, I will go get it out in the sunlight and see how it is.. I know over on the drivers side I got some runs in the clear. It was so dark over there I didnt even see them till I went around the cart with a hand held flourescent. Anyhow, heres the pics... Workin the filler... 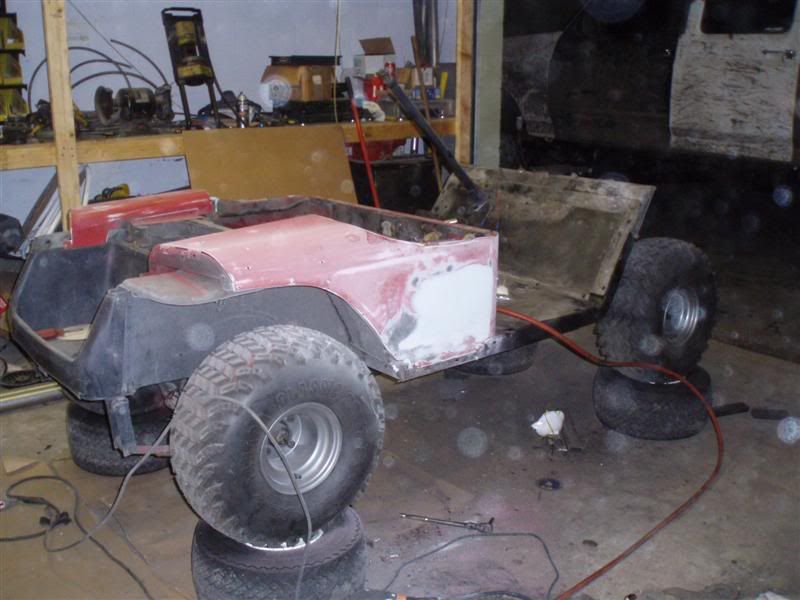  While waiting for the filler to set up, I decided to try out my other new toy... An air riveter from Harbor Junk. Man, Im in love. That thing is soo awesome. Put the floor panels back in in a few minutes, no sore hand muscles!! 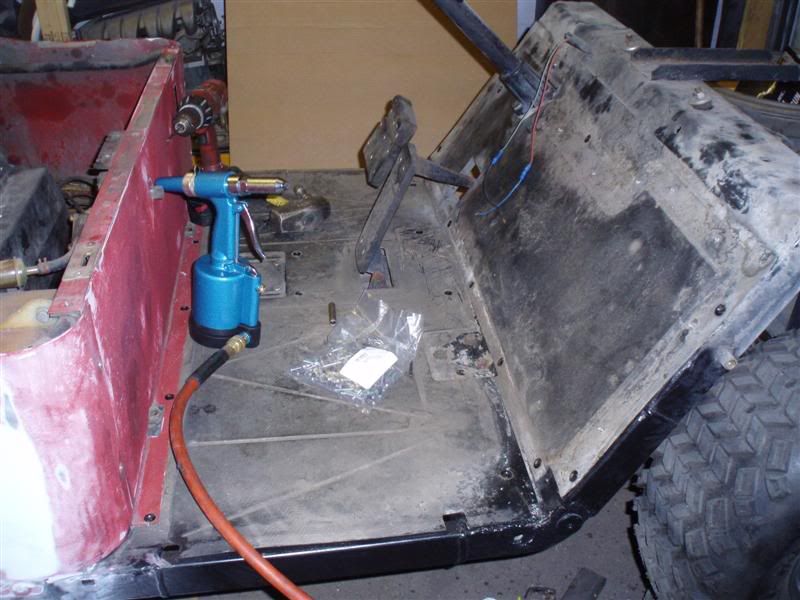 On to primer:  And finally the paint! 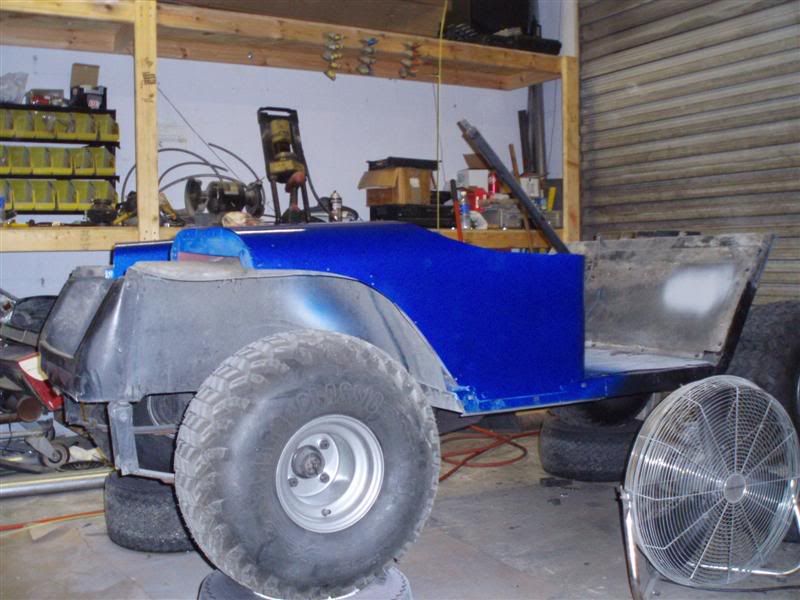 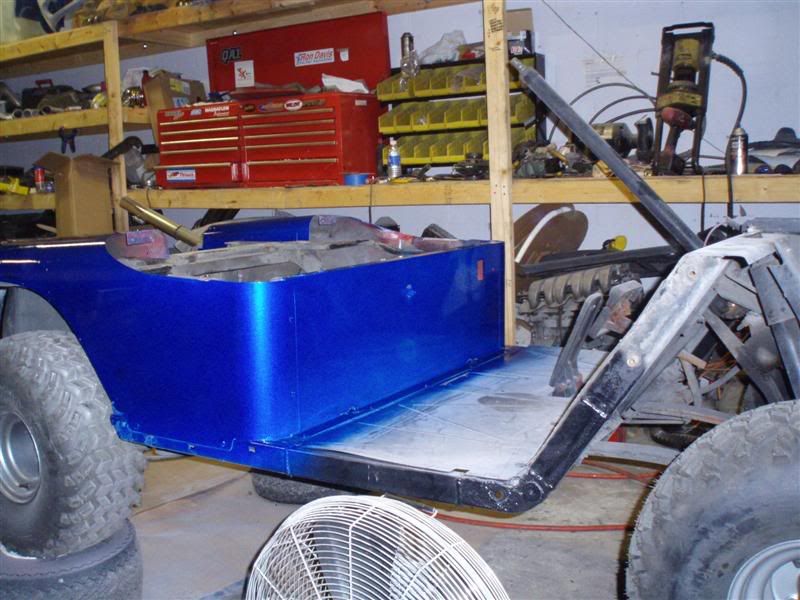 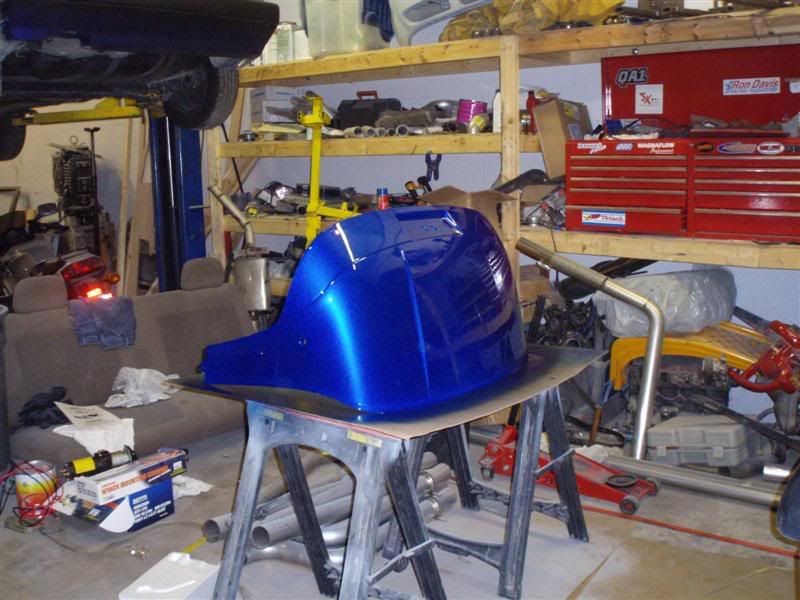 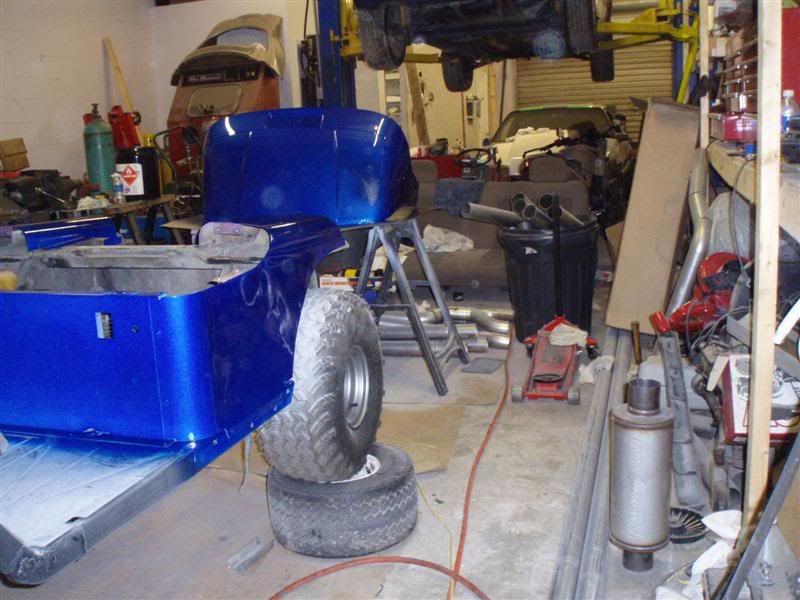 |
|
|
|
|
03-08-2009, 10:30 AM
|
#26 |
|
Gone Wild
Join Date: Oct 2008
Location: Out past the Creek, Arizona
Posts: 856
|
Well hopefully those runs aren't too bad. I love the color, almost the same as my pit cart. I hope to someday paint my cart to match. It should snowball forward now with progress now. Thanks for the update & pics.
|
|
|
|
|
03-08-2009, 07:00 PM
|
#27 |
|
Getting Wild
Join Date: Feb 2009
Location: Osteeeeen, Fl
Posts: 116
|
Its pretty bad actually.. Right on the cowl on the passenger side, about 8" wide and 4" tall.. Being metallic stands out like a sore thumb...
Once I get the cart back together, I will smooth it down, scuff it up and hit that area again. Thanks for the comments. |
|
|
|
|
03-08-2009, 08:30 PM
|
#28 |
|
Gone Wild
Join Date: Jan 2009
Location: Texas Panhandle
Posts: 170
|
Looks like your making good progress starting to look like a respectible cart again.
|
|
|
|
|
03-08-2009, 09:01 PM
|
#29 |
|
Gone Wild
Join Date: Jun 2008
Location: Austin Minnesota
Posts: 168
|
Looks good man! I painted my cart last week, and it is just about the same color.
|
|
|
|
|
03-08-2009, 10:56 PM
|
#30 |
|
Not Yet Wild
Join Date: Sep 2008
Posts: 43
|
didnt even let the filler flash off, JK
nice welds |
|
|
|
 |
|
||||||
| Thread Tools | |
| Display Modes | |
|
|
 Similar Threads
|
||||
| Thread | Forum | |||
| Project Cart-Medalist | Lifted Golf Carts | |||
| Marathon or Medalist??? | Electric EZGO | |||
| 95 Medalist | Gas EZGO | |||
| 96-03 front end on a medalist? | Electric EZGO | |||
| 94 Medalist or Marathon | Electric EZGO | |||


 Linear Mode
